Halloween is a time for spooky fun, costumes, and, of course, delicious treats. One of the best snacks to enjoy during the Halloween season is Witchy Cookies. These cookies are not just tasty; they look creepy and magical all at once. Kids and adults alike will love them. Let’s explore how to make these fun Halloween cookies that will impress everyone at your Halloween party.
WHY YOU WILL LOVE THIS RECIPE
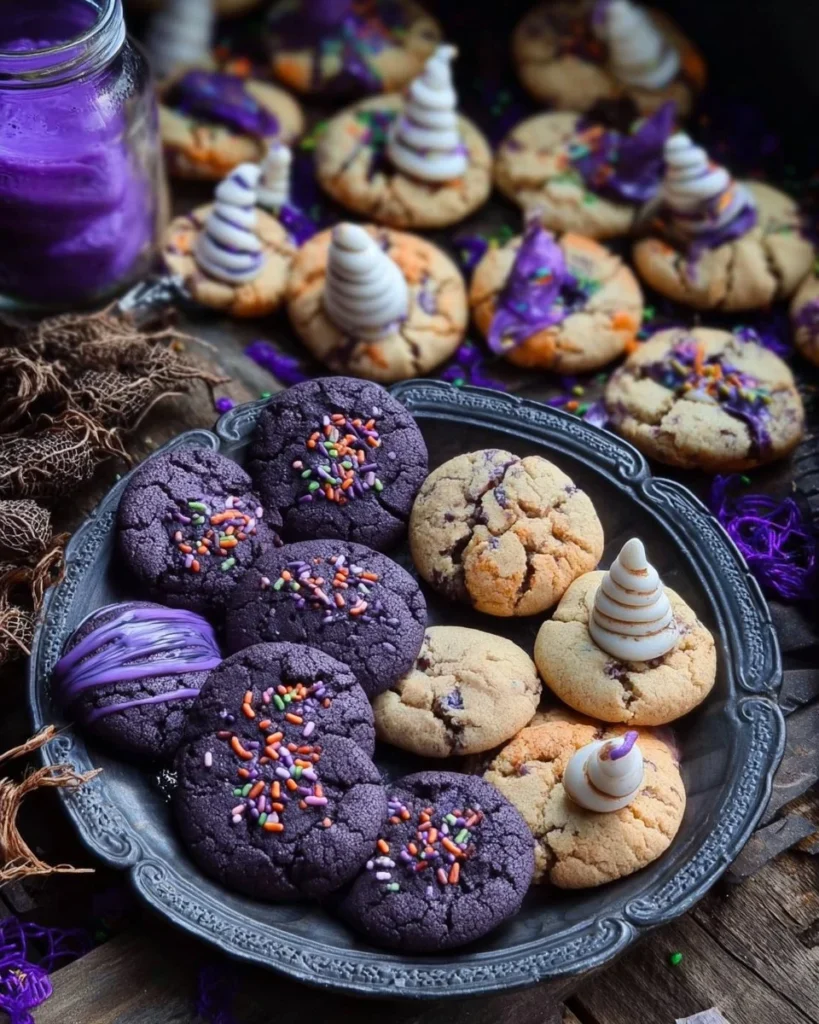
Witchy Cookies are perfect for Halloween because they are colorful, fun, and easy to make. This recipe allows you to unleash your creativity with shapes, colors, and decorations. Whether you’re making them for a party, school function, or just for fun, they are bound to be a hit. Not only do they taste amazing, but they also look great on any Halloween table. Plus, you can involve your kids in the baking process, making it a fun family activity.
HOW TO MAKE Witchy Cookies
Ingredients:
To make Witchy Cookies, you will need the following ingredients:
- 2 ½ cups all-purpose flour
- 1 teaspoon baking powder
- 1 teaspoon baking soda
- ½ teaspoon salt
- 1 cup unsalted butter, softened
- 1 cup granulated sugar
- 1 cup packed brown sugar
- 2 large eggs
- 2 teaspoons vanilla extract
- 2 cups chocolate chips (any type you like)
- Green food coloring (for the witch’s skin)
- Purple or black sprinkles (for decoration)
- Edible eyeballs (for decoration)
STEP-BY-STEP INSTRUCTIONS:
Now, let’s break down the steps to make our Witchy Cookies:
- Preheat the Oven: Start by preheating your oven to 350°F (180°C). This is important for baking the cookies evenly.
- Mix Dry Ingredients: In a medium-sized bowl, whisk together the flour, baking powder, baking soda, and salt. This combination of dry ingredients helps the cookies rise and gives them a nice texture.
- Cream Butter and Sugars: In a large mixing bowl, combine the softened butter, granulated sugar, and brown sugar. Use an electric mixer or a wooden spoon to mix them until they are light and fluffy.
- Add Eggs and Vanilla: Beat in the eggs one at a time, mixing well after each addition. Then add the vanilla extract and combine everything together.
- Combine Wet and Dry Ingredients: Gradually add the dry ingredients to the butter mixture. Mix until just combined. Be careful not to overmix, as this can make the cookies tough.
- Add Chocolate Chips: Fold in the chocolate chips, making sure they are evenly distributed in the dough.
- Add Food Coloring: Take a small amount of cookie dough and mix in a few drops of green food coloring. This part will give your cookies a witchy look!
- Shape the Cookies: Using a cookie scoop or a spoon, drop rounded tablespoons of dough onto a baking sheet lined with parchment paper. Leave some space between each cookie as they will spread.
- Decorate: Before baking, you can add sprinkles on top or place edible eyeballs into the center of some of the cookies for an extra spooky touch.
- Bake: Place the baking sheets in the preheated oven and bake for about 10-12 minutes. The edges should be slightly golden, and the center will look soft.
- Cool Cookies: Remove the cookies from the oven and let them cool on the baking sheet for about 5 minutes. After that, transfer them to a wire rack to cool completely.
- Enjoy: Once the cookies have cooled, they are ready to be enjoyed!

HOW TO SERVE Witchy Cookies
Witchy Cookies are super fun to serve at any Halloween gathering. You can place them on a spooky-themed platter or in a witch’s cauldron for a fun effect. Add a few Halloween decorations like fake spiders or cobwebs around the cookies to set the scene. These cookies pair well with milk, hot chocolate, or a cup of environmentally friendly Halloween punch.
STORAGE & FREEZING: Witchy Cookies
To store your cookies, keep them in an airtight container at room temperature. They will stay fresh for about one week. If you want to keep the cookies longer, you can freeze them. Place the cooled cookies in a freezer-safe bag or container with parchment paper between layers. They can last up to three months in the freezer. To enjoy them again, just let them thaw at room temperature.
SERVING SUGGESTIONS
Witchy Cookies are great on their own, but you can serve them with other Halloween treats like:
- Pumpkin cupcakes
- Mummy hot dogs
- Spider web dip
- Ghostly brownies
Mix and match these delicious snacks for an amazing Halloween party spread!
VARIATIONS
If you’re feeling creative, try these variations for your Witchy Cookies:
- Monster Cookies: Add colorful candies like M&Ms or Skittles instead of chocolate chips.
- Spooky Shapes: Use cookie cutters to make witches, bats, or pumpkin shapes.
- Frosted Cookies: Top each cookie with a simple icing made from powdered sugar and a bit of water, then add sprinkles.
FAQs
1. Can I use margarine instead of butter?
Yes, you can substitute margarine for butter, but it may change the texture slightly.
2. How do I make these cookies gluten-free?
Use a 1-to-1 gluten-free flour blend instead of regular all-purpose flour.
3. How can I make my cookies chewy?
To achieve a chewy texture, do not overbake the cookies. Take them out of the oven when they still look slightly underbaked.
4. Can I add nuts to the recipe?
Yes, feel free to add chopped nuts, such as walnuts or pecans, for added crunch.
MAKE-AHEAD TIPS FOR Witchy Cookies
If you want to prepare ahead of time, you can make the dough a day in advance. Just cover it tightly and keep it in the fridge. When you’re ready to bake, you can scoop and bake directly from the fridge, adding a minute or two to the baking time. Another option is to bake the cookies in advance and freeze them. This way, you can have them ready for your Halloween celebration without any last-minute rush.
Now you’re ready to make some delicious Witchy Cookies for Halloween! Enjoy baking and sharing these delightful treats with friends and family!


Witchy Cookies
Ingredients
Method
- Preheat the oven to 350°F (180°C).
- In a medium-sized bowl, whisk together the flour, baking powder, baking soda, and salt.
- In a large mixing bowl, cream together the softened butter, granulated sugar, and brown sugar until light and fluffy.
- Beat in the eggs one at a time, then add the vanilla extract and mix until combined.
- Gradually add the dry ingredients to the butter mixture and mix until just combined.
- Fold in the chocolate chips.
- Mix a small amount of green food coloring into a portion of the cookie dough.
- Drop rounded tablespoons of dough onto a lined baking sheet, ensuring space between each cookie.
- Decorate with sprinkles or edible eyeballs if desired.
- Bake for about 10-12 minutes until the edges are slightly golden.
- Let cool on the baking sheet for 5 minutes, then transfer to a wire rack to cool completely.
- Enjoy your Witchy Cookies!