Crispy Milk Donuts
Looking for a sweet treat that won’t blow your healthy eating plan? Try these Crispy Milk Donuts! This recipe not only delivers on flavor but also offers a healthier twist on a classic favorite. With ingredients that help keep the calorie count low and the protein high, these donuts are great for meal prep or a quick snack. Let’s dive into why you’ll love this delightful and guilt-free treat!
WHY YOU WILL LOVE THIS Crispy Milk Donuts
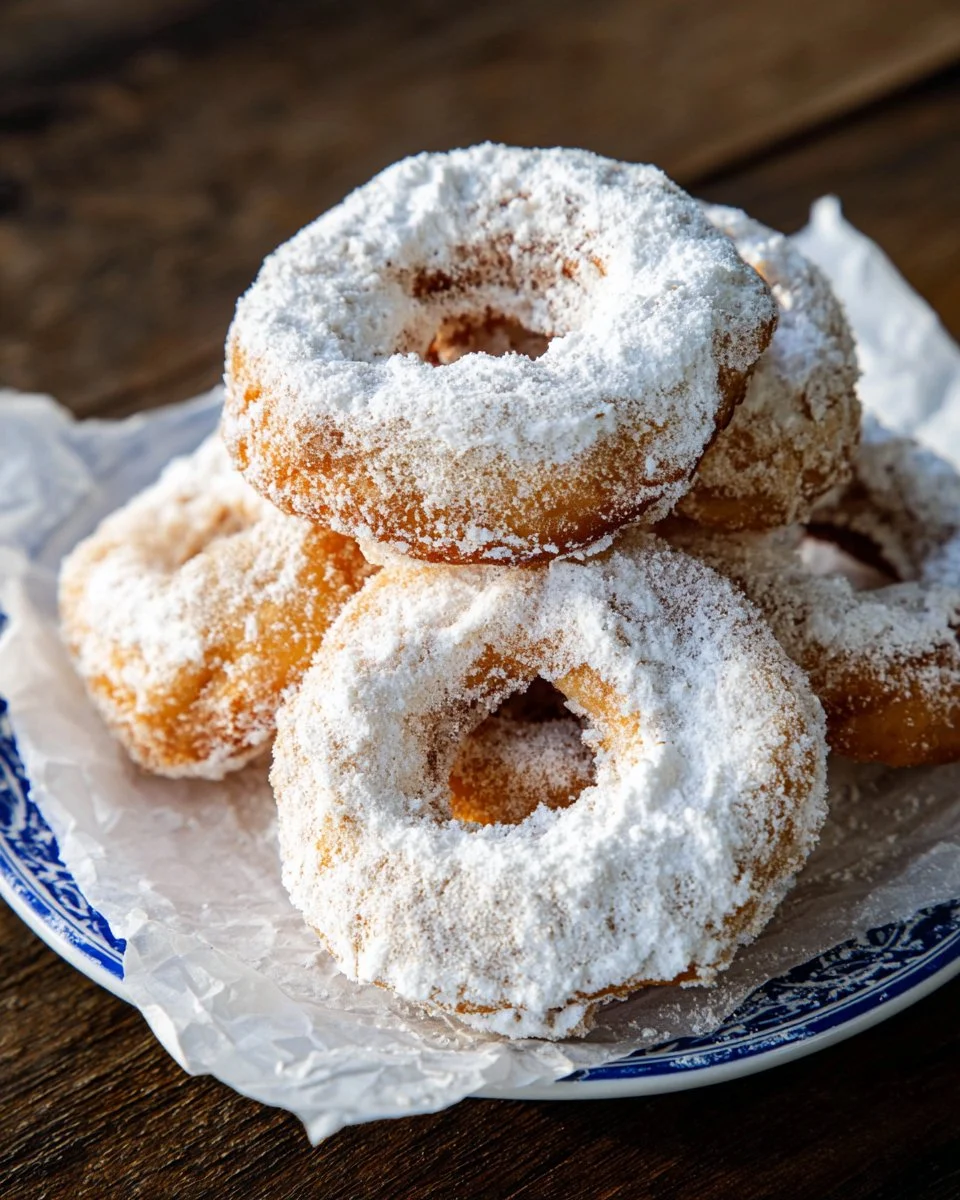
Crispy Milk Donuts are the perfect balance of indulgence and health. These donuts have a light and airy texture, thanks to the careful blend of flours and the right moisture. Not only are they delicious, but they can also support a healthier lifestyle.
Crafted with lower calorie ingredients and a healthy approach, these donuts fit well into various dietary preferences, including those seeking diabetic-friendly options or low-carb alternatives. Plus, the protein boost helps keep you feeling full longer, making them a good choice for weight loss or meal prep! If you’re someone who loves enjoying tasty treats without the guilt, this is definitely the recipe for you.
EQUIPMENT NEEDED
Stand Mixer
A stand mixer makes it easy to knead the dough, ensuring it comes out smooth and well-mixed. Its powerful motor can handle sticky ingredients effortlessly.
Kitchen Scale
Using a kitchen scale ensures accuracy in measuring ingredients. For baking, precise measurements are crucial, especially for achieving the perfect texture in your donuts.
Mixing Bowls
Having a set of mixing bowls in various sizes is helpful for combining ingredients and allowing the dough to rise. Choose bowls that can easily accommodate the volume of your mixture.
Plastic Wrap
Plastic wrap is essential for covering the dough during the rising process. This helps prevent it from drying out and allows it to rise properly for that perfect donut texture.
INGREDIENTS
Ingredient 1: Bread Flour
1/2 + 1/3 cup (170 g)
Bread flour provides the necessary gluten structure for a chewy texture, making the donuts crispy on the outside and soft inside.
Ingredient 2: Cake Flour
1/4 cup (30 g)
Cake flour is lighter and gives the donuts a tender crumb. Combining this with bread flour achieves the ideal balance.
Ingredient 3: Sugar
2 tbsp (24 g)
Sugar adds sweetness and helps in browning the donuts as they cook. You could cut back slightly for a lower calorie option.
Ingredient 4: Milk Powder
1 tbsp (8 g)
Milk powder adds richness and enhances the flavor of the donuts. It contributes to their delightful milk essence.
Ingredient 5: Water
1/3 cup + 1 1/2 tbsp (92 ml)
Water is essential for incorporating the dry ingredients and activating the yeast for a light dough.
Ingredient 6: Large Egg
2/3 (32 g)
Eggs provide moisture and act as a binding agent, giving structure and richness to the donuts.
Ingredient 7: Butter
1 + 2 tsp (24 g)
Butter adds a rich flavor, but you can substitute with a healthier option like coconut oil if desired.
Ingredient 8: Salt
2/3 tsp (3 g)
Salt enhances the overall flavor of the donuts and helps to control yeast fermentation.
Ingredient 9: Yeast
2/3 tsp (3 g)
Yeast is what makes the donuts rise. It ferments the sugars and produces carbon dioxide, creating the airy texture.
Ingredient 10: Potato Starch
1.5 tbsp (17 g)
Potato starch can improve the texture and make the donuts more tender. It’s a great option for a gluten-free version!
Ingredient 11: Baking Powder
1/2 tsp
Baking powder serves as an additional leavening agent, ensuring your donuts are fluffy and light.
Ingredient 12: Additional Water
1/3 cup + 1.5 tbsp (100 ml)
Extra water is crucial for the final dough consistency.
Ingredient 13: Oil
2 tbsp (25 ml)
Oil is used for frying or can be included in the dough for moisture, depending on your cooking method.
Ingredient 14: Powdered Sugar
1/3 cup (40 g)
Powdered sugar is perfect for dusting on top of your donuts for that classic sweet finishing touch.
Ingredient 15: Milk Powder (for glaze)
1.5 tbsp (12 g)
Using whole milk powder can enrich the finish, enhancing the milk flavor in your glaze.

HOW TO MAKE Crispy Milk Donuts
Step 1: Mix the Dough
Stand Mixer: Combine all dough ingredients, except butter, in the mixing bowl of your stand mixer. Mix on low speed for about 2–3 minutes until a rough dough begins to form.
Hand Kneading: If you prefer to knead by hand, mix all the ingredients except the butter in a large bowl until a sticky dough forms. Turn the dough onto a clean surface, and knead for about 8-10 minutes until it becomes smooth and less sticky.
Step 2: Add the Butter
Once your dough is well-formed, add the softened butter. If you’re using a stand mixer, continue mixing on medium speed for another 7-8 minutes until the dough is smooth and elastic. If you’re kneading by hand, incorporate the butter gently into the dough and continue kneading until it’s fully blended in.
Step 3: Primary Fermentation
Place your dough into a clean bowl and cover it with plastic wrap. Let it rise in a warm environment (28-30°C) for about 60 minutes. You will know it’s ready when it has doubled in size.
Step 4: Divide
After the dough has risen, gently press it to release excess gas. Use a kitchen scale to divide the dough into 6 equal pieces. This ensures each donut is uniform in size.
Step 5: Rolling and Bench Time
Take each piece of dough and roll them into smooth balls. Cover them with plastic wrap and let them rest for an additional 10–15 minutes. This step is important as it allows the dough to relax, making them easier to shape.
Step 6: Shaping
After resting, it’s time to shape your donuts! Gently flatten each ball and create a hole in the center. You can use your fingers or an object like a bottle cap to make the perfect shape.
TIPS AND TRICKS
-
Healthier Options: Experiment by using almond flour or coconut flour for a gluten-free option, making it suitable for those with gluten allergies. You can also replace some sugar with a natural sweetener for a lower calorie treat.
-
Meal Prep: These donuts are great for meal prep. You can batch-make them and store them in an airtight container in the fridge for up to a week. Simply reheat in an air fryer or oven for a few minutes before enjoying.
-
Storage: Keep these Crispy Milk Donuts in an airtight container at room temperature to maintain their crispiness. If stored properly, they can last up to 3 days.
-
Variations: Add spices like cinnamon or nutmeg to the dough for an extra flavor boost. You could also dip them in dark chocolate for a heart-healthy sweet treat!
Crispy Milk Donuts FAQ
1. Can I make these donuts gluten-free?
Yes, you can use gluten-free flour mixes to make a gluten-free version of these Crispy Milk Donuts. Just ensure to include a binding agent like xanthan gum to achieve a better texture.
2. How can I store leftover donuts?
Store leftover donuts in an airtight container at room temperature for three days. For longer freshness, refrigerate them, but be mindful that they may soften.
3. Are these donuts suitable for weight loss?
These Crispy Milk Donuts are lower in calories and can be enjoyed as a high-protein snack, making them a great option for anyone looking to maintain a healthy weight while satisfying their sweet tooth.
4. Can I make these donuts in an air fryer?
Yes! You can air fry these donuts for a lighter option. Preheat your air fryer and cook the donuts in batches at 350°F (175°C) for about 5-8 minutes or until they are golden brown.
CONCLUSION
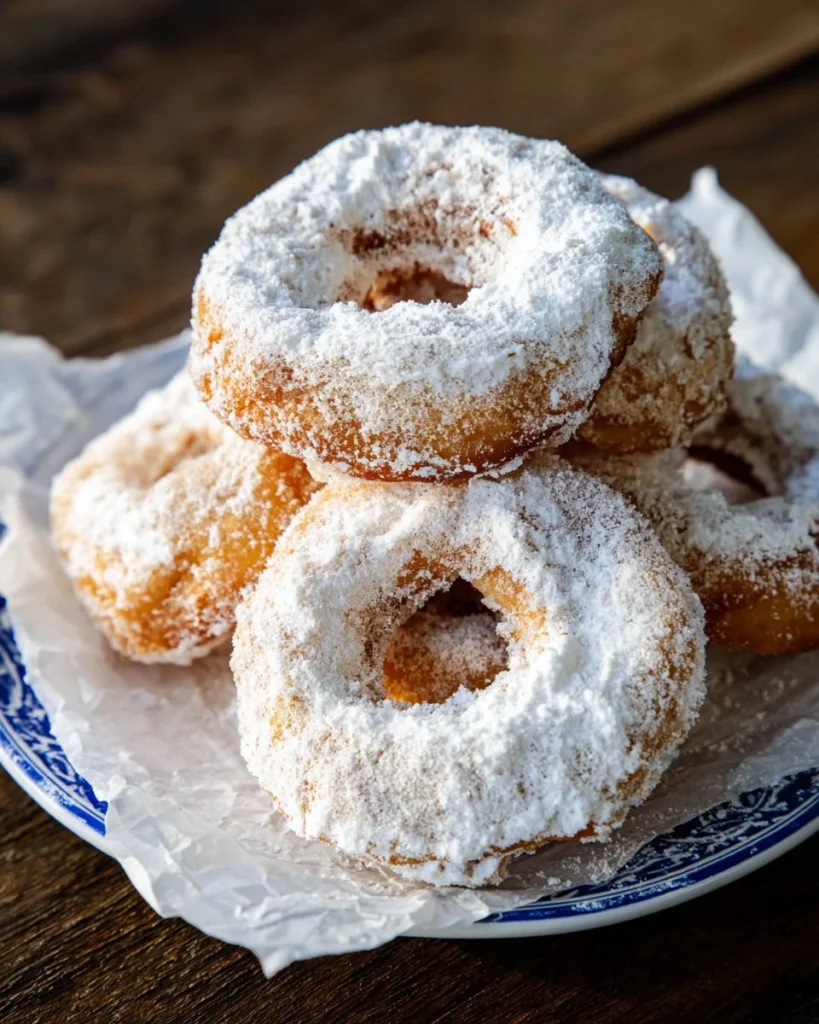
Crispy Milk Donuts offer a flavorful and healthy solution for anyone who loves sweet treats. With their delightful texture and lower calorie count, they are a great choice for meal prep and weight management. The addition of protein helps keep you full without derailing your dietary goals. Try making these donuts at home, and share your results or any fun variations you tried! Enjoy your cooking adventure, and let these donuts be your new go-to treat!
Crispy Milk Donuts
Ingredients
Method
- In a stand mixer, combine all dough ingredients except butter. Mix on low speed for 2-3 minutes until a rough dough forms.
- For hand kneading, mix in a large bowl until a sticky dough forms, then knead on a clean surface for 8-10 minutes until smooth.
- Add softened butter to the dough and mix on medium speed for 7-8 minutes until smooth and elastic.
- If kneading by hand, incorporate butter gently until fully blended.
- Cover the dough with plastic wrap and let rise in a warm area for about 60 minutes until it doubles in size.
- Press dough to release excess gas and divide into 6 equal pieces using a kitchen scale.
- Roll each piece into a smooth ball, cover with plastic wrap, and let rest for 10-15 minutes.
- Gently flatten each ball and create a hole in the center using your fingers or a bottle cap.