INTRODUCTION
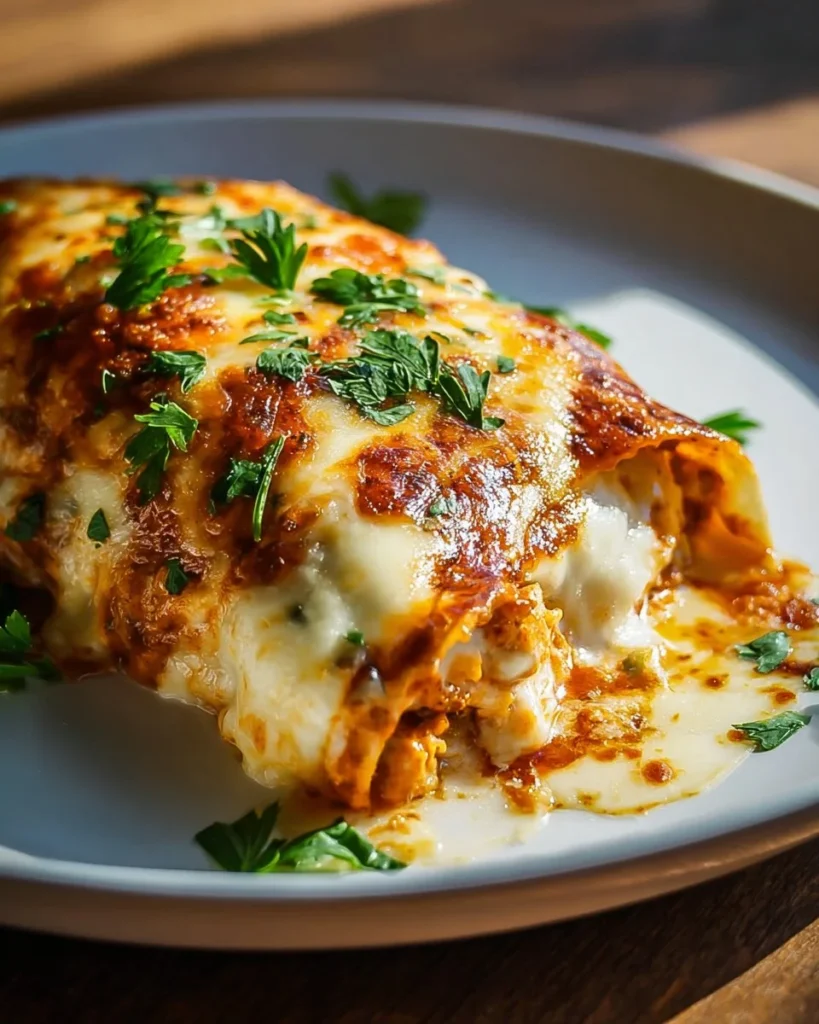
Cheesy garlic chicken wraps are a delicious and easy meal that can be made quickly. They are perfect for lunch, dinner, or even a quick snack. With tender shredded chicken, creamy garlic aioli, and melted cheddar cheese, these wraps are full of flavor. Plus, they are easy to customize with your favorite ingredients. Whether served fresh or made ahead, these wraps will satisfy your cravings.
WHY YOU WILL LOVE THIS RECIPE
This recipe is a winner for several reasons. First, it is simple to make with just a few easy-to-find ingredients. You don’t need to be a chef to whip up these tasty wraps. Second, they are very adaptable. You can add different veggies or change the spices to suit your taste. Third, they are filling without being heavy, making them a great choice for any meal. Finally, everyone loves cheese and garlic, and this recipe has plenty of both!
HOW TO MAKE Cheesy Garlic Chicken Wraps
Making cheesy garlic chicken wraps is straightforward. In a short time, you can have a tasty meal ready to eat. Follow the steps below to enjoy these yummy wraps.
EQUIPMENT NEEDED
To make cheesy garlic chicken wraps, you will need:
- Mixing bowl
- Spoon for mixing
- Frying pan or skillet
- Knife for cutting
- Cutting board
- Grater for cheese if not pre-shredded
- Aluminum foil or parchment paper (optional for easy handling)
Ingredients You’ll Need:
- 2 cups cooked chicken (shredded)
- 1/2 cup garlic aioli
- 1 cup cheddar cheese (shredded)
- 4 large tortillas
- Salt and pepper to taste
STEP-BY-STEP INSTRUCTIONS:
-
Prepare the Chicken: If you haven’t done so already, cook the chicken. You can boil, roast, or use leftover chicken. Once cooked, shred the chicken into small pieces and place it in a mixing bowl.
-
Mix in the Garlic Aioli: Add the garlic aioli to the shredded chicken. Use a spoon to mix it well. Make sure all pieces of chicken are covered in the aioli.
-
Add Cheese and Season: Sprinkle the shredded cheddar cheese into the bowl with the chicken. Add salt and pepper to taste. Mix everything together until it is combined nicely.
-
Warm the Tortillas: In a frying pan or skillet, lightly toast the tortillas for about 30 seconds on each side. This helps them become more pliable and enhances their flavor.
-
Assemble the Wraps: Take one tortilla and place a generous portion of the chicken and cheese mixture in the middle. Fold in the sides, then roll it up from the bottom to the top carefully to form a wrap.
-
Cook the Wraps (Optional): If you prefer a warm, crispy wrap, you can place the assembled wraps back into the skillet. Cook for 2-3 minutes on each side until they are golden brown.
-
Cut and Serve: Once cooked, remove the wraps from the pan. Use a knife to cut them in half if you like. Serve warm and enjoy your cheesy garlic chicken wraps!

HOW TO SERVE Cheesy Garlic Chicken Wraps
You can serve cheesy garlic chicken wraps warm or at room temperature. They are tasty as is, but you can also add sides like a fresh salad, crispy fries, or some veggies for extra nutrition. If you like dips, try serving them with ranch dressing, salsa, or extra garlic aioli on the side.
STORAGE & FREEZING: Cheesy Garlic Chicken Wraps
To store leftover wraps, let them cool completely. Wrap each one in plastic wrap or aluminum foil, then place them in an airtight container. They will keep in the fridge for up to 3 days. If you want to freeze them, wrap them tightly in plastic wrap and then in aluminum foil. Place them in the freezer for up to 2 months. When you’re ready to eat them, thaw them in the fridge and reheat them in the microwave or skillet.
SERVING SUGGESTIONS
Aside from the suggested dips, you can enhance your cheesy garlic chicken wraps by adding fresh herbs like cilantro or parsley. You can also offer toppings like avocado slices, diced tomatoes, or pickled jalapeños for those who like a little kick. Pair it with a cool drink like lemonade or iced tea to make a complete meal.
VARIATIONS
There are many ways to switch up this recipe. Here are a few ideas:
- Veggie Lovers: Add sautéed bell peppers or onions to the chicken mixture for a veggie boost.
- Spicy Twist: Use spicy aioli or add crushed red pepper flakes to the mix for a spicy version.
- Extra Crunch: Add some shredded lettuce or cabbage inside the wraps for a bit of crunch.
- Different Cheese: Try using mozzarella or pepper jack cheese instead of cheddar for a different flavor.
FAQs
Q: Can I use raw chicken instead of cooked?
A: Yes, but you need to cook the chicken first. You can boil, bake, or grill it until fully cooked, then shred it.
Q: Is this recipe suitable for meal prep?
A: Yes, these wraps are great for meal prep. Make them ahead of time, store them in the fridge or freezer, and enjoy them throughout the week.
Q: Can I use gluten-free tortillas?
A: Absolutely! Just swap regular tortillas for gluten-free ones to make this recipe suitable for those with gluten sensitivities.
Q: How can I make these wraps healthier?
A: You can use whole wheat tortillas, low-fat cheese, and add more veggies to increase the nutritional value without compromising on taste.
MAKE-AHEAD TIPS FOR Cheesy Garlic Chicken Wraps
If you are short on time, you can prepare the filling ahead of time. Mix the shredded chicken, garlic aioli, and cheese, then store it in the fridge for up to 2 days. When you’re ready to eat, just warm the mixture, fill the tortillas, and serve! You can also make the wraps, roll them up in foil, and store them in the fridge. They can be reheated easily when you are ready for a meal.
In conclusion, cheesy garlic chicken wraps are an easy and tasty dish that can be prepared in no time. With simple ingredients and endless variations, they will quickly become a favorite in your home. Enjoy making and eating these delicious wraps!

Cheesy Garlic Chicken Wraps
Ingredients
Method
- If you haven’t done so already, cook the chicken. Once cooked, shred the chicken into small pieces and place it in a mixing bowl.
- Add the garlic aioli to the shredded chicken and mix well to ensure all pieces are covered.
- Sprinkle the shredded cheddar cheese into the bowl with the chicken, add salt and pepper to taste, and mix everything together until well combined.
- In a frying pan or skillet, lightly toast the tortillas for about 30 seconds on each side to make them pliable.
- Take one tortilla and place a generous portion of the chicken and cheese mixture in the middle. Fold in the sides, then roll it up from the bottom to top carefully to form a wrap.
- If desired, cook the assembled wraps in the skillet for 2-3 minutes on each side until golden brown.
- Remove the wraps from the pan and cut them in half if you like. Serve warm with dips such as ranch dressing or salsa.