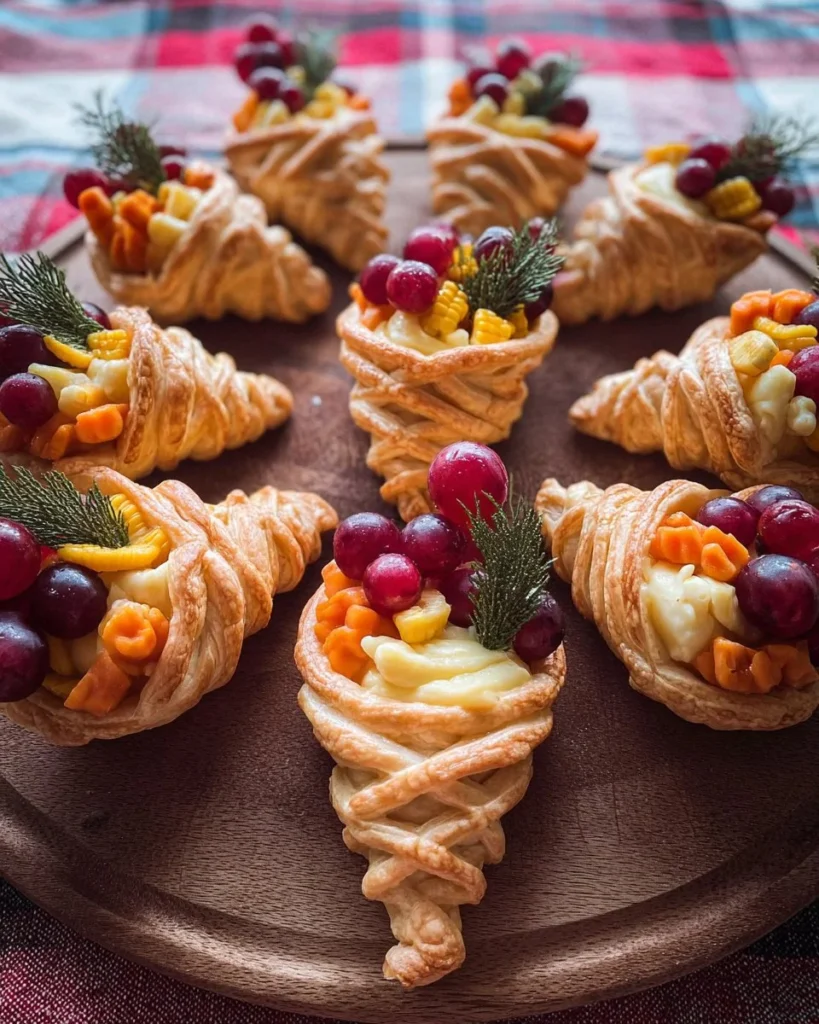
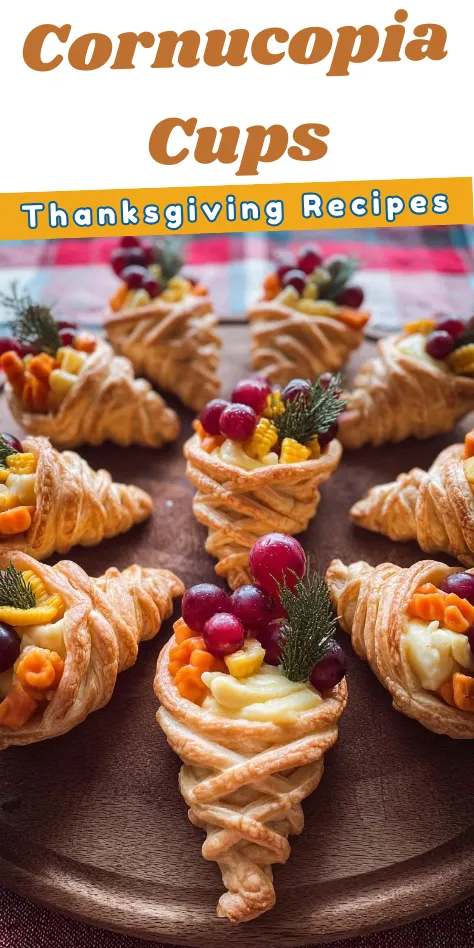
Making cute and fun treats is a great way to bring joy to any gathering or meal. One such delightful creation is the Cornucopia Cups. These edible cups can hold all sorts of tasty goodies like meats, cheeses, fruits, or herbs. They look impressive and are perfect for parties, holidays, or family get-togethers. This guide will help you make the cutest Cornucopia Cups, step by step.
WHY YOU WILL LOVE THIS RECIPE
You will love making Cornucopia Cups for many reasons. First, they are adorable! Their unique shape makes them a favorite among kids and adults alike. Second, they are simple to make. You need just a few ingredients and a little time. Third, they are versatile. You can fill them with whatever you like! Whether you prefer savory ingredients or something sweet, these cups can hold it all. Finally, they add a festive look to your table. Using them for your next celebration will impress your guests and bring a smile to their faces.
HOW TO MAKE Cornucopia Cups
Ingredients:
- Bread dough: homemade or Pillsbury French bread Roll
- 1 egg for egg wash
- Cooking spray
- Preferred charcuterie treats, such as meats, cheese, fruit, and herbs
STEP-BY-STEP INSTRUCTIONS
- Prepare Your Baking Sheet
Start by lining a baking sheet with wax paper. This will keep the cornucopias from sticking and make clean-up easier. - Mold Your Cornucopia
To create the shape of the cornucopia, take some aluminum foil. Fold it into a cornucopia shape starting from one corner. You do not need to make it tight; just form it loosely. - Roll Out the Dough
If you’re using homemade bread dough, you want to roll it out to about ¼ inch thick. If you’re using store-bought dough, simply unroll it from the can. - Cut the Dough
Using a pizza cutter, slice the dough into thin strips. Aim for strips to be around ¼ inch wide. You will need 6 to 7 strips for each cornucopia. - Wrap the Dough Around the Foil
Take your foil cornucopia and lightly spray it with cooking spray. This will help prevent the dough from sticking. Begin wrapping the dough strips around the cornucopia, starting from the point. Wrap the dough in the same direction, creating a spiral pattern around the foil. - Finish the Top
When you reach the final piece of dough, fold it in half and twist the ends together. This will form a decorative opening at the top of your cornucopia. - Apply Egg Wash
Use the egg wash to seal the spiraled dough. Brush it over the last layer and tuck in any extra dough at the bottom. - Bake the Cornucopias
Cook the wrapped cornucopias according to the bread directions. Keep an eye on them to ensure they do not burn. - Cool Down
Once baked, remove the cornucopias from the oven and let them cool on the baking sheet. This makes them easier to handle.

HOW TO SERVE Cornucopia Cups
Cornucopia Cups are perfect for sharing! To serve, fill each cup with your favorite treats. You can choose a mix of cheese, meats, fruits, and herbs. Arrange them on a beautiful platter for a stunning display. For special occasions, consider pairing them with a dipping sauce or garnish.
STORAGE & FREEZING : Cornucopia Cups
To store Cornucopia Cups, keep them in an airtight container in the refrigerator. They stay fresh for a few days. If you want to freeze them, let them cool completely first. Place them in a freezer-safe container and store them for up to three months. To reheat, bake in the oven at 350°F until warmed through.
SERVING SUGGESTIONS
For serving, consider the season or event. During Fall, you can fill them with pumpkin spice treats or roasted nuts. For winter parties, try incorporating cranberries and meats. In summer, fresh fruits and light cheeses can be refreshing. Don’t forget to garnish with herbs for extra flair!
VARIATIONS
There are many ways you can change up the Cornucopia Cups! Here are a few ideas:
- Sweet Cornucopia Cups: Use cookie dough instead of bread dough and fill them with whipped cream, fruits, or chocolate treats.
- Savory Options: Try using puff pastry for a flakier texture. Fill them with dips, roasted vegetables, or seafood.
- Mini Cornucopias: Make smaller versions using mini dough strips and foil. Great for appetizers!
FAQs
- Can I use store-bought dough?
Yes! Using store-bought dough like Pillsbury French bread rolls makes this recipe quick and simple. - How do I prevent the dough from sticking?
Lightly spray your foil mold with cooking spray before wrapping the dough to help prevent sticking. - Can I make Cornucopia Cups ahead of time?
Yes! You can prepare the cups and store them in the fridge or freeze them for later. Fill just before serving for best results. - What can I fill the Cornucopia Cups with?
You can fill them with a wide variety of ingredients, such as meats, cheeses, fruits, vegetables, nuts, or even sweets.
MAKE-AHEAD TIPS FOR Cornucopia Cups
You can make the Cornucopia Cups in advance! Just follow these steps:
- Prepare the Dough: You can roll and cut the dough ahead of time. Store the strips in the fridge until you are ready to mold them.
- Mold the Cups: Create the cornucopia shapes and leave them unbaked. Place them on a baking sheet, cover with plastic wrap, and refrigerate for up to 24 hours.
- Bake Before Serving: When ready to serve, bake the cups according to the instructions. This way, you have fresh, warm cups ready to fill!
Now you are ready to impress your family and friends with these adorable Cornucopia Cups! Enjoy making and sharing them at your next gathering!

Cornucopia Cups
Ingredients
Method
- Line a baking sheet with wax paper to prevent sticking.
- Fold aluminum foil into a cornucopia shape, creating a loose form.
- Roll out homemade bread dough to about ¼ inch thick or unroll store-bought dough.
- Cut the dough into strips approximately ¼ inch wide, needing 6 to 7 strips for each cornucopia.
- Spray the foil cornucopia with cooking spray before wrapping the dough around it in a spiral pattern.
- Fold and twist the last piece of dough at the top to create a decorative opening.
- Brush the dough with egg wash to seal it and tuck in any extra dough.
- Bake the wrapped cornucopias according to the bread directions and monitor to prevent burning.
- Let the baked cornucopias cool on the baking sheet before handling.
- Fill each cooled Cornucopia Cup with favorite treats like cheese, meats, and fruits.
- Arrange on a platter for presentation, and consider adding a dipping sauce.