
This easy no-knead artisan bread makes a crisp crust and soft inside with very little hands-on time.
INTRODUCTION
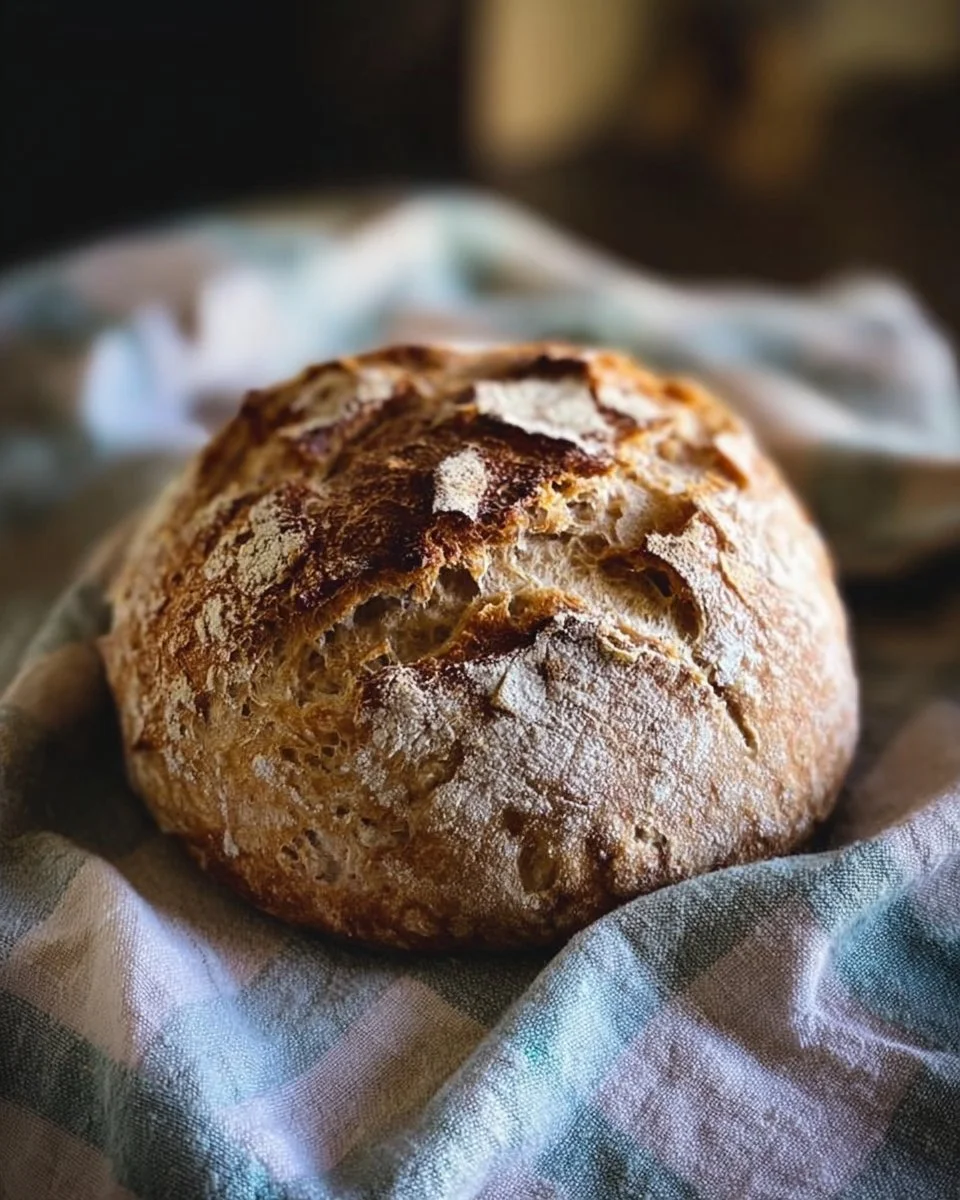
Easy No-Knead Artisan Bread is a simple, home-baked loaf that comes out with a crisp crust and open crumb. You only mix, rest, shape and bake. It is a great starter bread for people who want house-made bread without kneading. This recipe is also a healthy version idea when you swap part of the flour for whole grain or add seeds for more fiber. For more simple baking ideas you might like this lemon zucchini bread, which is a sweet and light quick bread.
This article shows clear steps. It also gives ideas to make the loaf higher in protein and higher in fiber. You will learn how to bake one loaf, store it, freeze it, and use it in meal prep. The tone is simple and the steps are easy to follow.
WHY YOU WILL LOVE THIS RECIPE
- Very low work: mix once and let time do the rest. This makes it a lighter option on busy days.
- Good for meal prep: bake one loaf and use slices for many meals.
- Flexible for health: you can make a healthier version by using part whole wheat flour or adding seeds to boost fiber and protein.
- Good for weight loss: control portions and use thin slices with lean proteins or salad to make a balanced meal.
- Great for families: it is affordable and uses simple pantry ingredients.
This no-knead loaf fits many diets when you change the flour or add seeds. It can be a base for a balanced meal. It stores well and is easy to freeze. You can make this bread on a lazy day and enjoy fresh bread all week.
HOW TO MAKE Easy No-Knead Artisan Bread
The method is the same for most no-knead loaves: mix dry, add water, rest, bake in a hot pan with a lid. You will get a deep brown crust and soft center. Below are the tools and the exact mix you will use.
EQUIPMENT NEEDED
- Large mixing bowl
- Wooden spoon
- Plastic wrap or saran wrap
- A towel (optional)
- Dutch oven or heavy oven-safe pot with lid, or a baking stone and a baking pan
- Parchment paper
- Oven mitts
- A sharp blade or lame to score the dough
Ingredients You’ll Need :
3-1/4 cups AP flour, 2 tsp instant yeast, 1-1/2 tsp salt, 1-1/2 cups warm water
STEP-BY-STEP INSTRUCTIONS :
In a large mixing bowl, whisk together the flour, yeast and salt., Add the warm water and stir with a wooden spoon until just combined. (It will look pretty shaggy.), Cover with saran wrap, (I throw a towel over the top too), and let it sit for 4-24 hours in a non-drafty place. (I keep mine in the empty microwave.), When ready to bake:
- Preheat your oven to 450°F (230°C). Place a Dutch oven with its lid inside the oven while it heats for at least 30 minutes.
- Turn the dough out onto a lightly floured surface. Shape it to a rough round by folding the edges under. Do not knead hard.
- Place the dough on a piece of parchment paper. Score the top with a sharp knife.
- Carefully remove the hot Dutch oven from the oven. Lift the dough with the parchment and set it inside. Cover with the lid.
- Bake covered for 25–30 minutes. Remove the lid and bake for another 10–15 minutes until the crust is deep brown.
- Transfer the bread to a rack and cool for at least 30 minutes before slicing.

HOW TO SERVE Easy No-Knead Artisan Bread
Serve thin slices with lean proteins and vegetables to make a balanced plate. For a lighter option, toast a slice and top it with mashed avocado and a poached egg for a high protein meal. For a healthy snack, have one thin slice with a small portion of hummus or cottage cheese.
Portion control tips:
- One serving is usually one slice (about 1–1.5 oz) if you are watching calories or managing weight loss goals.
- For meals, use 1–2 slices with a cup of salad and 3–4 oz of lean protein to make a balanced meal.
- If you want a lower calorie choice, make thin slices and pair them with soup or salad.
STORAGE & FREEZING : Easy No-Knead Artisan Bread
Store cool, dry, and wrapped to keep the crumb soft and the crust from getting too hard.
- Short term: Keep at room temperature in a paper bag or bread box for 2 days. For a softer crust, wrap in plastic after cool-down.
- Longer term: Slice and freeze in a zipper bag for up to 3 months. Toast slices straight from frozen.
- Thawing: Put frozen slices into a toaster or oven to bring back a fresh taste. For a whole loaf, thaw at room temperature and warm in a 350°F oven for 10–15 minutes.
These storage tips help support meal prep. Make a loaf on the weekend and use slices for quick lunches or breakfast all week.
SERVING SUGGESTIONS
- Balanced meal: two thin slices of bread, 3–4 oz grilled chicken, and a big salad for a healthy meal.
- Snack: one slice with a tablespoon of nut butter or hummus for some protein and healthy fats.
- Soup side: serve a slice with a vegetable or chicken soup to round out a light dinner.
- Sandwich idea: use thin slices with turkey, spinach, tomato, and mustard for a lower-calorie sandwich.
If you need potluck ideas or easy sides for a gathering, check this list of simple dishes that pair well with bread like this one: easy potluck ideas for quick meals.
VARIATIONS
Here are ways to change this recipe for different goals.
-
Healthier version:
- Replace up to half of the AP flour with whole wheat flour. This adds fiber and a nutty flavor. Use the same water but you may need an extra tablespoon or two.
- Add 1/3 cup mixed seeds (chia, flax, sunflower) to boost fiber and healthy fats.
- Reduce salt slightly for a heart healthy option.
-
High-protein or low-carb version:
- High-protein: add 2–3 tablespoons of vital wheat gluten to the flour mix or use a high-protein bread flour. You can also mix in 1/4 cup plain whey protein isolate (unflavored) to increase protein. Note: This will change texture slightly but gives a good protein boost for a high protein meal.
- Low-carb: true low-carb breads do not use the same method. Try making small no-knead rolls using a blend of almond flour, eggs, and psyllium husk, baked in an air fryer or oven. These are denser, but work as a low-carb bread replacement.
-
Air fryer or oven-baked:
- Oven-baked: follow the Dutch oven method above for the best crust.
- Air fryer: shape dough into small rolls. Place one or two rolls (depending on air fryer size) on parchment and bake at 400°F for 12–18 minutes, flipping once, until brown. This is a quick air fryer version for smaller batches.
Each variation keeps the basic method but adjusts ingredients to meet dietary goals like higher protein, higher fiber, or low carbs.
FAQ
Q: Is this bread healthy?
A: It can be. Use part whole wheat flour and add seeds to increase fiber and healthy fats. Keep portions controlled for a lighter option. This makes it a healthier version of classic white bread.
Q: Can people with diabetes eat this bread?
A: People with diabetes should watch portion size and pair bread with protein and fiber to slow sugar spikes. Use whole grain flours and seeds to lower the glycemic impact. Talk with a dietitian for personal advice.
Q: How long does this bread keep?
A: At room temperature it keeps 1–2 days for best quality. Slice and freeze for up to 3 months. Toast slices directly from frozen.
Q: Can I make this high protein?
A: Yes. Add vital wheat gluten, use high-protein flour, or mix in plain protein powder. Serve with lean protein to make a high protein meal.
Q: Is it low calorie?
A: Bread calories depend on the flour and portion size. Use thin slices and pair with vegetables or lean protein to keep the meal lower in calories and good for weight loss.
Q: Can I make it gluten-free?
A: This exact method uses wheat flour and yeast and will not work with most gluten-free flours. Try a separate gluten-free bread recipe or make gluten-free flatbreads with specific GF blends.
MAKE-AHEAD TIPS FOR Easy No-Knead Artisan Bread
- Make the dough the night before and let it rest in the fridge for 12–24 hours. Chilling slows fermentation and gives a deeper flavor. When ready, shape and bake the next day.
- Freeze dough after the first rise in a sealed bag. Thaw in the fridge overnight, shape and bake. This helps with meal prep and saves time on busy days.
- Bake full loaves on the weekend. Slice and freeze for quick meals, toast, or sandwiches during the week. This bread is great for meal prep and quick breakfasts.
- For more make-ahead baking ideas and simple breads to prepare, try this zucchini quick bread guide that also works well for batch baking.

Easy No-Knead Artisan Bread
Ingredients
Method
- In a large mixing bowl, whisk together the flour, yeast, and salt.
- Add the warm water and stir with a wooden spoon until just combined. (It will look pretty shaggy.)
- Cover with saran wrap (a towel over the top is optional) and let it sit for 4-24 hours in a non-drafty place.
- Preheat your oven to 450°F (230°C). Place a Dutch oven with its lid inside while it heats for at least 30 minutes.
- Turn the dough out onto a lightly floured surface and shape it into a rough round by folding the edges under without kneading hard.
- Place the dough on a piece of parchment paper and score the top with a sharp knife.
- Carefully remove the hot Dutch oven from the oven and lift the dough with the parchment inside. Cover with the lid.
- Bake covered for 25-30 minutes, then remove the lid and bake for another 10-15 minutes until the crust is deep brown.
- Transfer the bread to a rack and cool for at least 30 minutes before slicing.