WHY MAKE THIS RECIPE
Making Easy Homemade Canned Dill Pickles is simple and incredibly satisfying. If you’ve ever tasted a fresh, crunchy dill pickle, you know what makes them so special. They offer a perfect balance of tartness and crunch, making them a delicious addition to sandwiches, burgers, or just as a snack. By making these pickles at home, you can control the ingredients, ensuring they are as fresh and flavorful as possible.
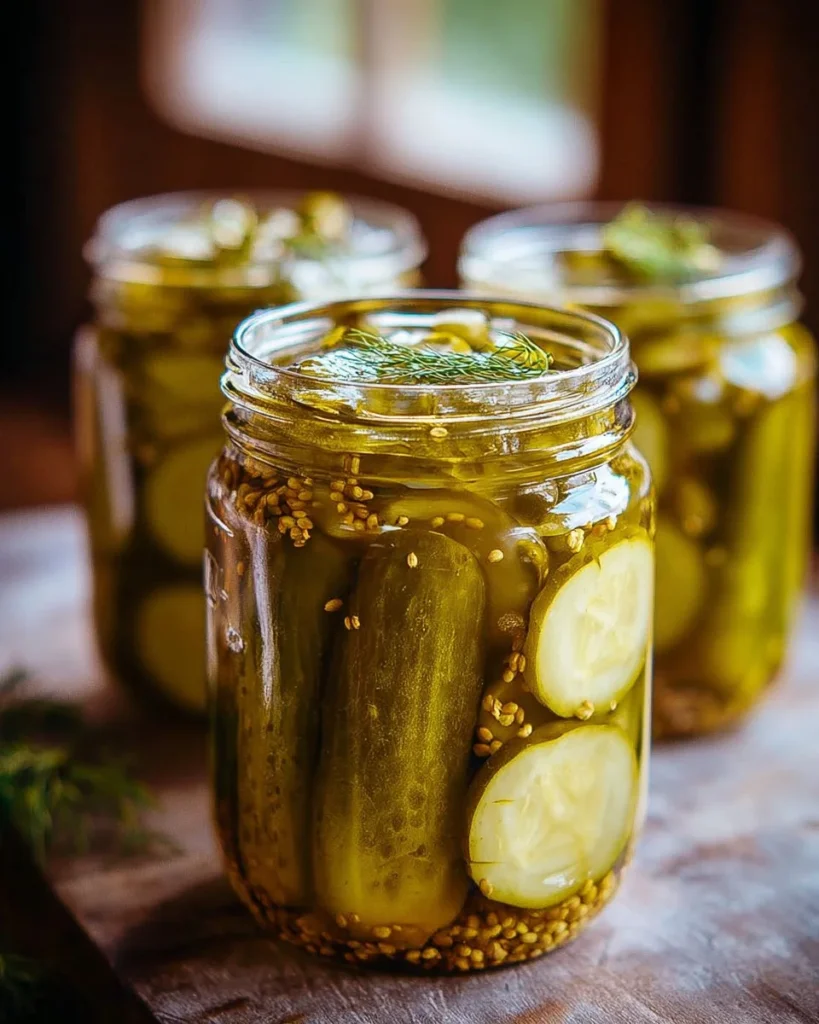
Home canning can also be a fun and rewarding experience. You get to preserve the seasonal bounty of cucumbers, and there’s something gratifying about seeing your jars lined up, filled with bright green pickles. Plus, homemade pickles make fantastic gifts, adding a personal touch to any occasion. They’re perfect for summer barbecues, picnics, or just to enjoy at home throughout the year.
HOW TO MAKE Easy Homemade Canned Dill Pickles
Making your own canned dill pickles is easier than you might think. Below are the ingredients you’ll need along with step-by-step directions.
Ingredients
- 4 cups firm cucumbers (Kirby or Persian)
- 1 cup white vinegar
- 1 cup water
- 2 tablespoons granulated sugar
- 2 tablespoons pickling salt
- 4 garlic cloves, peeled and crushed
- Fresh dill sprigs
DIRECTIONS
-
Sterilize your jars: Start by sterilizing your jars and lids. Place them in a pot of boiling water for about 10 minutes. This ensures your jars are clean and safe for canning.
-
Prepare the cucumbers: Wash your cucumbers thoroughly to remove any dirt. Cut them into spears or slices, depending on your preference.
-
Make the brine: In a pot, combine 1 cup of white vinegar, 1 cup of water, 2 tablespoons of pickling salt, and 2 tablespoons of granulated sugar. Heat this mixture on the stove until it comes to a boil, stirring until the salt and sugar dissolve.
-
Layer the jars: Next, take your sterilized jars out of the boiling water. Start layering the cucumber slices or spears in each jar. Add the crushed garlic cloves and a few fresh dill sprigs in between the layers for flavor.
-
Add the brine: Carefully pour the hot brine over the cucumbers in the jars, making sure they are completely submerged. Leave a little space at the top of the jar for expansion.
-
Seal the jars: Place the lids on the jars tightly.
-
Process the jars: Finally, process the jars in boiling water for 10 minutes to seal them. This step helps ensure your pickles will last. Once done, remove the jars and let them cool completely.
-
Store your pickles: Once cooled, check the seals. If the lid pops back when pressed, it hasn’t sealed properly, and you might need to refrigerate that jar and eat it first.
HOW TO SERVE Easy Homemade Canned Dill Pickles
Homemade dill pickles are versatile and can be served in many ways:
- On sandwiches: Add a few slices to your favorite sandwiches for a crunchy bite.
- With burgers: Top your burgers with a spears for a tangy crunch.
- As a snack: Enjoy them straight from the jar as a delicious healthy snack.
- In salads: Chop them up and toss them into a salad for an added burst of flavor.
These pickles are tasty right after they cool, but they develop even more flavor after sitting in the refrigerator for a day or two.
HOW TO STORE Easy Homemade Canned Dill Pickles
Once you’ve made your pickles and sealed the jars, store them in a cool, dark place. A cupboard or pantry works well. Properly sealed jars can last for about a year, but for the best flavor, try to consume them within 6 months. Once opened, keep any remaining pickles in the refrigerator, and they should stay good for another few weeks.
TIPS TO MAKE Easy Homemade Canned Dill Pickles
- Choose the right cucumbers: Use firm, fresh cucumbers like Kirby or Persian. They hold their crunch better than softer varieties.
- Adjust the spices: Feel free to experiment with other spices like mustard seeds, peppercorns, or red pepper flakes for a spicy kick.
- Don’t skip the sterilization: It’s crucial to sterilize your jars and lids to prevent spoilage.
- Allow them to pickle: Give your pickles at least a week to sit before opening a jar. This gives the flavors time to develop.
VARIATIONS
There are countless ways to customize your canned dill pickles:
- Spicy dill pickles: Add red pepper flakes or sliced jalapeños to the jars for a bit of heat.
- Bread and butter pickles: Replace the vinegar with apple cider vinegar and add extra sugar for a sweet and tangy flavor.
- Garlic dill pickles: Increase the number of garlic cloves for a stronger garlic flavor.
- Herbed pickles: Add other herbs such as thyme or oregano alongside the dill for added complexity.
FAQs
1. How long do homemade canned dill pickles last?
Properly sealed jars can last up to a year in a cool, dark place. Once opened, store them in the fridge and consume within a few weeks.
2. Can I use other types of cucumbers?
While Kirby and Persian cucumbers are ideal for pickling due to their firmness, you can use other varieties. Just keep in mind that softer cucumbers may not maintain their crunch.
3. What should I do if my jar didn’t seal properly?
If the lid pops back when pressed, it hasn’t sealed. It is best to refrigerate that jar and consume it within a few weeks. You can try reprocessing it in boiling water to seal it again, but be cautious of the risk of spoilage.
Making Easy Homemade Canned Dill Pickles is a straightforward process that can provide a delicious, crunchy snack or condiment for many meals. With fresh ingredients and simple steps, you’ll be enjoying your own pickles in no time!