WHY MAKE THIS RECIPE
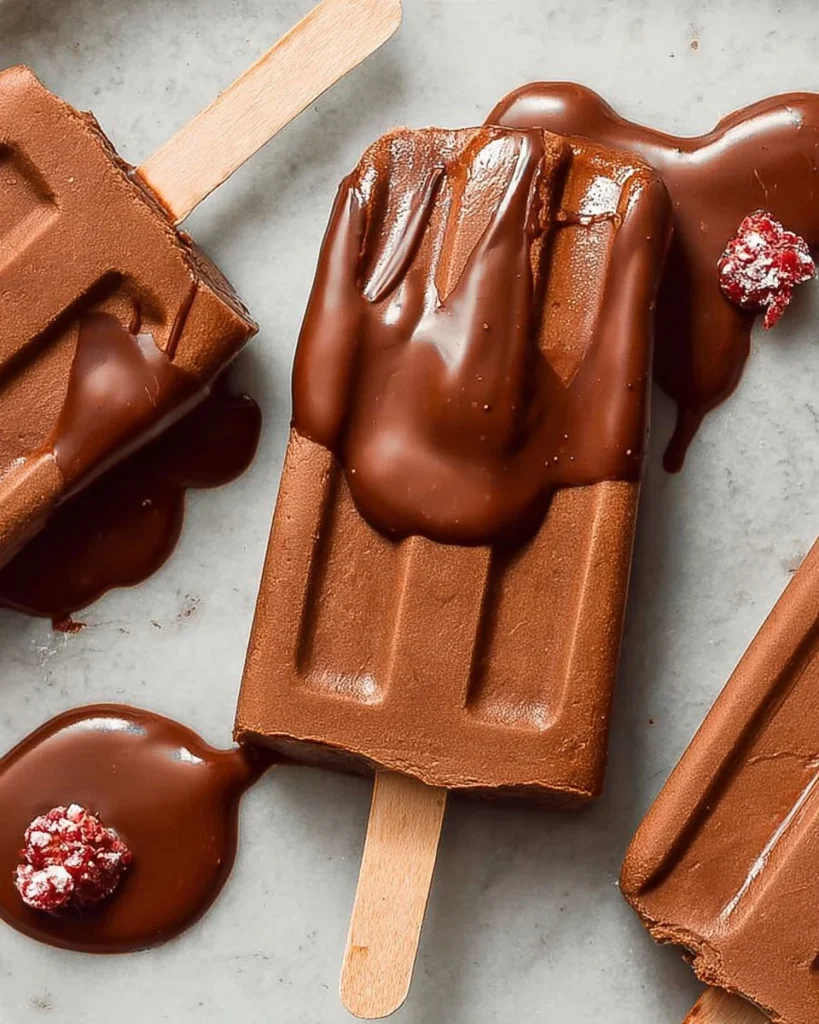
Easy Creamy Chocolate Popsicles are a fantastic treat for warm days. They are rich, creamy, and filled with delicious chocolate flavor. By making these popsicles at home, you can control the ingredients, ensuring they are healthier and free from preservatives. They are perfect for kids and adults alike. Plus, they’re incredibly easy to whip up, making them ideal for a quick dessert or snack. Whether you’re hosting a summer party or just want a sweet treat, these popsicles will satisfy your chocolate cravings without requiring much effort.
HOW TO MAKE Easy Creamy Chocolate Popsicles
Ingredients
- 400 ml coconut whipped cream
- 215 g coconut condensed milk
- 55 g high-quality cacao powder
- Pinch of salt
- 1 teaspoon vanilla extract (optional)
- 100 g dark chocolate
- 1 teaspoon coconut oil or peanut butter
- Chopped nuts (optional)
DIRECTIONS
-
Begin by arranging your popsicle molds and sticks. Make sure all ingredients are correctly measured and ready to use. This preparation makes the next steps much easier.
-
In a small saucepan, combine the coconut whipped cream, coconut condensed milk, cacao powder, pinch of salt, and vanilla extract (if you choose to use it).
-
Warm this mixture over low heat. Stir frequently until everything is blended and smooth. Be careful not to let the mixture boil, as it can affect the texture of your popsicles.
-
Once the mixture is smooth and pourable, distribute it evenly among the 8 popsicle molds.
-
Insert the sticks into the molds and place them in the freezer. Allow them to freeze for a minimum of 3 hours until they are completely set.
-
To remove the popsicles from the molds, if using metal or plastic molds, briefly dip them in very hot water for about 3 seconds. Then, pull on the sticks to extract the popsicles. For silicone molds, gently press each popsicle out.
-
If the popsicles are too cold, let them sit at room temperature for a few minutes to soften slightly. This step makes them easier to eat.
-
If you want to coat your popsicles, line a tray with baking paper. Melt the dark chocolate and coconut oil (or peanut butter) using a double boiler method until it becomes liquid.
-
Dip each popsicle into the melted chocolate and place them on the lined tray. For an extra crunch, sprinkle chopped nuts over the chocolate coating, if desired.
-
Transfer the dipped popsicles back to the freezer for 5 minutes to set the chocolate.
-
Finally, store the popsicles in an airtight container or a ziplock bag until you are ready to enjoy them.
HOW TO SERVE Easy Creamy Chocolate Popsicles
When serving Easy Creamy Chocolate Popsicles, simply take them out of the freezer and let them sit at room temperature for a minute or two before serving. This waiting time allows them to soften just a bit, making them easier to enjoy. You can serve them as they are or place them on a nice plate with a small garnishing of fruits or nuts for a more appealing presentation.
These popsicles are great on their own, but you can also serve them with additional toppings such as whipped cream, fresh berries, or a drizzle of caramel or chocolate sauce for a decadent treat.
HOW TO STORE Easy Creamy Chocolate Popsicles
To store your Easy Creamy Chocolate Popsicles, keep them in an airtight container or a ziplock bag. It’s best to arrange them in a single layer to prevent them from sticking together. They can be stored in the freezer for up to two months. If you use a ziplock bag, make sure to remove as much air as possible before sealing it. Remember to label your container or bag with the date they were made so you can keep track of freshness.
TIPS TO MAKE Easy Creamy Chocolate Popsicles
-
Use Quality Ingredients: The flavor of your popsicles relies heavily on the quality of the cocoa powder and dark chocolate you choose. Look for high-quality brands for the best taste.
-
Experiment with Sweetness: If you prefer a sweeter taste, you can adjust the amount of coconut condensed milk in the recipe. Start with the suggested amount and add more if needed.
-
Try Other Flavorings: Vanilla extract adds a nice flavor, but you can also use almond extract or even a splash of coffee for an extra twist.
-
Don’t Skip the Salt: A pinch of salt enhances the chocolate flavor and balances the sweetness, so don’t skip it.
-
Check Consistency: Ensure your mixture is smooth and pourable. If it seems too thick, you can add a splash of coconut milk to reach the desired consistency.
VARIATIONS
There are many fun ways to change up the Easy Creamy Chocolate Popsicles:
-
Fruit Addition: Blend in some banana or peanut butter for an extra layer of flavor. You can also layer the pops with fruit purees like strawberry or raspberry for a fruity twist.
-
Chocolate Chip Pops: Stir in some dairy-free chocolate chips before freezing for extra chocolatey bites in every lick.
-
Nut Butter Swirl: Add a spoonful of almond butter or peanut butter to the mixture before freezing for a nutty flavor.
-
Mint Chocolate: Add a few drops of peppermint extract to the mixture for a minty variation that’s refreshing and delicious.
FAQs
Q1: Can I use regular whipped cream instead of coconut whipped cream? A1: Yes, you can use regular whipped cream if you are not dairy-sensitive. However, it will change the flavor and texture slightly.
Q2: What can I do if I don’t have popsicle molds? A2: You can use paper cups and popsicle sticks as a homemade alternative. Pour the mixture into the cups, insert the sticks, and freeze.
Q3: How long do these popsicles last in the freezer? A3: When stored properly in an airtight container or ziplock bag, they can last up to two months in the freezer.
Q4: Can I use other types of milk? A4: Yes, you can try using almond milk or oat milk, but the texture may be less creamy compared to coconut cream.
Q5: Are these popsicles vegan? A5: Yes, as long as you use vegan chocolate and coconut-based ingredients, these popsicles are vegan-friendly.
Enjoy making and sharing your Easy Creamy Chocolate Popsicles! They’re sure to be a hit with family and friends.