
INTRODUCTION
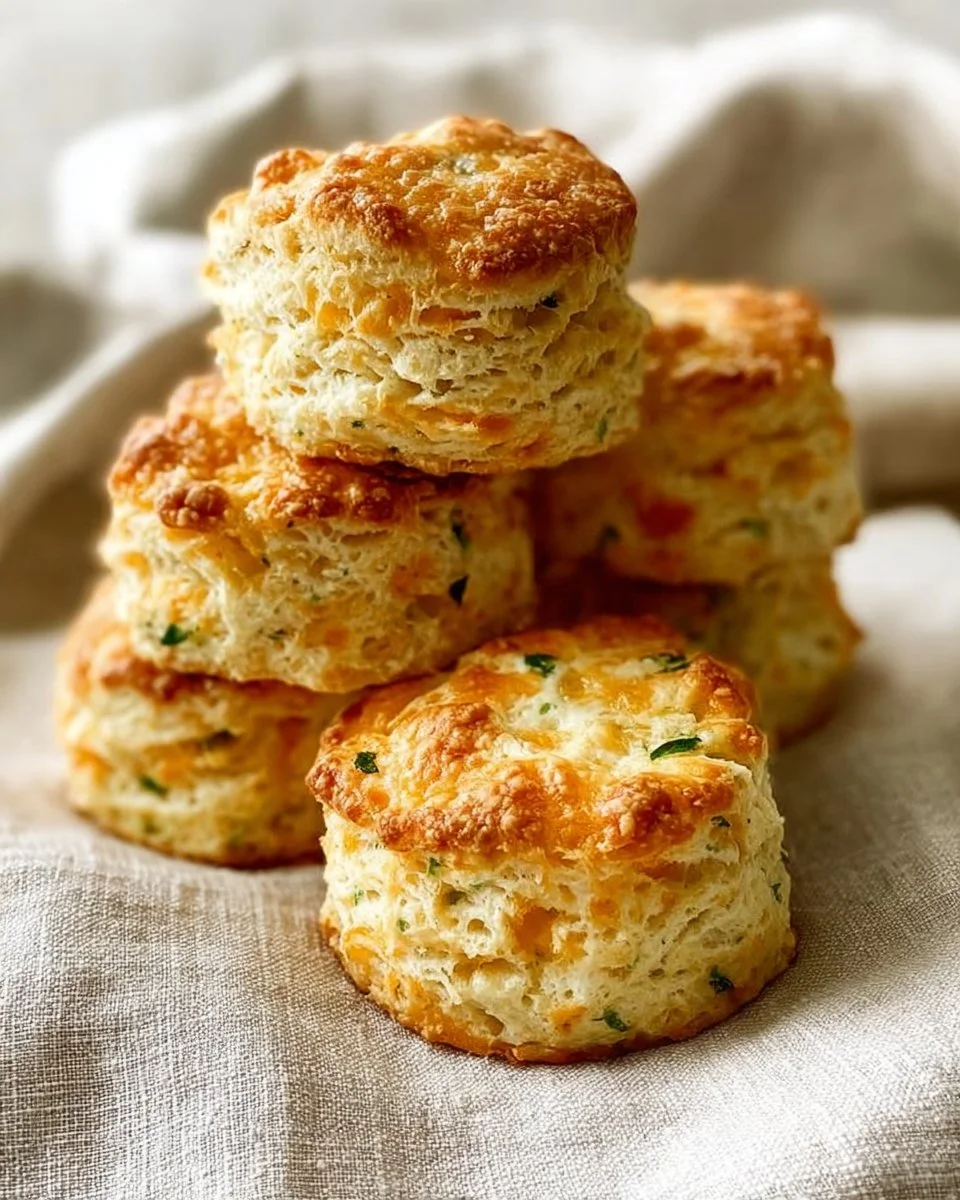
Cheddar Garlic & Chive Buttermilk Biscuits bring warm, flaky biscuits to your table with a strong savory flavor. These biscuits are rich with sharp cheddar, mild garlic, and bright chives. They bake quickly and pair well with soups, salads, or protein dishes. If you enjoy a cozy meal, try them with a bowl of cheddar garlic soup like the hearty potato soup found in this recipe: cheddar garlic herb potato soup. These biscuits are a crowd-pleaser and a nice balance of comfort and flavor.
WHY YOU WILL LOVE THIS RECIPE
These biscuits are fast to make and great for meal prep. They come together with simple pantry ingredients and freeze well for future meals. This recipe can be adapted as a healthy version or a lighter option by swapping a few ingredients. If you want a higher protein meal or to support weight loss goals, a few smart swaps (listed below) can lower carbs and add protein. They are also a tasty companion to many mains like garlic parmesan chicken pasta, making them flexible for weeknight dinners or easy weekend feasts.
HOW TO MAKE Cheddar Garlic & Chive Buttermilk Biscuits
These biscuits use cold butter and buttermilk to create flaky layers. Follow the steps below to make tender, cheesy biscuits that brown beautifully on top. For a lighter option, choose low-fat cheddar and trim the butter slightly. For a high protein meal, consider using part-skim Greek yogurt in place of some buttermilk or adding a scoop of unflavored protein powder to the dry mix (see variations).
EQUIPMENT NEEDED
- Large mixing bowl
- Box grater (for frozen butter)
- Whisk and fork
- Rolling pin or clean bottle to roll dough
- 3-inch biscuit cutter
- 9-inch round cake pan lined with parchment paper
- Baking sheet (optional if not using pan)
- Pastry brush for brushing melted butter
Ingredients You’ll Need :
- 1/2 cup butter, frozen and grated
- 2-1/2 cups AP flour
- 1 Tbsp baking powder
- 1/2 tsp baking soda
- 1 Tbsp sugar
- 1/2 tsp salt
- 1 tsp garlic
- 1 Tbsp dried chives ((can substitute parsley))
- 3/4 cup sharp cheddar cheese
- 1 cup buttermilk
- 2 Tbsp melted butter to brush on the biscuits after baking
STEP-BY-STEP INSTRUCTIONS :
- Preheat oven to 425. Line a 9″ round cake pan with sheet with parchment paper.
- Grate your frozen butter using a box grater then throw it back in the freezer until you need it.
- In a large bowl, whisk together the flour, baking powder, baking soda, sugar, salt, garlic powder and chives.
- Add the frozen butter and shredded cheese to the flour mixture and toss it all together using a fork.
- Make a well in the middle and add the buttermilk – stir using the fork just until it comes together.
- Empty the dough on to a lightly floured surface and gently bring it together with your hands to form it in to a rectangle. Note, it will be crumbly at first but it will come together as you do the rolling and folding. You do not want a very moist dough or you will have stodgy biscuits.
- Sprinkle very lightly with flour and roll it out to about 3/4 of an inch, then fold the dough in thirds on top of each other. Roll again and repeat the process 3-4 more times. This gives you the layers.
- Roll the dough down to a rectangle lightly until it is about an inch thick.
- Use a 3 inch biscuit cutter to cut out the biscuits. Push it straight down and pull straight up, making sure you don’t twist the cutter.
- Once you have cut out as many as you can, gently roll together all the leftover bits and continue to cut out biscuits until the dough is pretty much all gone. (I usually make 8 total and that fits the pan perfectly.)
- Place the biscuits on the pan, one in the middle and the others around it- they will be lightly touching each other.
- Place the whole pan in your freezer for 10 minutes to make sure those ingredients are still cold.
- Brush the tops of the biscuits with milk, buttermilk or cream.
- Bake at 425 for 14-16 minutes, Remove from oven and brush with melted butter immediately then serve!

HOW TO SERVE Cheddar Garlic & Chive Buttermilk Biscuits
Serve these biscuits warm. For a balanced meal, pair one biscuit with a cup of vegetable soup or a salad with lean protein. Portion control is simple: one biscuit is a satisfying side for most adults. If you are watching calories or working toward weight loss, cut biscuits in half and pair a half biscuit with a high-protein bowl or salad. For meal prep, wrap baked biscuits individually in foil and refrigerate for up to 4 days or freeze for longer. If you want a richer pairing, try them with creamy soups or roasted vegetables. For a lighter side, serve with a green salad and a serving of grilled chicken or turkey.
STORAGE & FREEZING : Cheddar Garlic & Chive Buttermilk Biscuits
- Room temperature: Store in an airtight container for 1-2 days. Reheat briefly in the oven to refresh texture.
- Refrigerator: Keep biscuits in the fridge for up to 4 days in an airtight container.
- Freezer: Freeze raw cut biscuits on a tray until firm, then transfer to a freezer bag for up to 3 months. To bake from frozen, add a few minutes to the bake time and keep them covered with foil for the first part of baking. For baked biscuits, wrap individually in foil and freeze up to 3 months. Reheat in a 350°F oven until warmed through.
SERVING SUGGESTIONS
- Balanced and healthy serving: One biscuit, a cup of mixed greens, and a 3–4 oz portion of grilled chicken makes a filling, high-protein meal.
- For a cozy dinner, serve with a bowl of the hearty potato soup for a classic comfort combo: hearty potato soup.
- Lighter option: Use low-fat cheddar and a low-fat buttermilk or yogurt swap; serve with steamed veggies to keep the meal lower in calories and higher in fiber.
- Meal prep tip: These biscuits are great for meal prep — bake a batch and portion them for breakfasts and dinners across the week.
VARIATIONS
- Healthier version: Use whole wheat pastry flour for more fiber and swap half the butter for a plant-based spread or a smaller amount of butter. Use low-fat sharp cheddar to reduce calories and saturated fat. This keeps flavor while making a lighter option.
- High-protein or low-carb version: For a high-protein take, replace 1/2 cup of flour with whey protein isolate (unflavored) and swap half the buttermilk for plain Greek yogurt. To make a low-carb biscuit, try a recipe using almond flour and coconut flour with extra eggs and baking powder; note texture will differ from classic biscuits. These swaps can help you create a high protein meal or a low carb side for keto-style plans.
- Air fryer or oven-baked version: The recipe is oven-baked by default. For an air fryer, reduce temperature to 400°F and bake biscuits in a single layer for 8–12 minutes, checking at 8 minutes for doneness. Air fryer biscuits brown faster, so watch them closely. For the oven, follow the original instructions (425°F for 14–16 minutes). The oven gives a better overall rise and even browning.
FAQs
Q: Are these biscuits healthy?
A: They are a comfort food, but you can make a healthy version by using whole wheat pastry flour and low-fat cheddar. The recipe can be adapted to be a lighter option and fit into a balanced diet.
Q: Can I make these biscuits for weight loss plans?
A: Yes. Use smaller portions, swap to lower-fat cheese, and pair a half biscuit with lean protein and vegetables to keep calories controlled. These suggestions make them good for weight loss when used with portion control.
Q: How should I store leftover biscuits?
A: Store in an airtight container in the fridge for up to 4 days or freeze raw or baked biscuits for up to 3 months. Reheat in a 350°F oven until warm.
Q: Can I make a gluten-free or low carb version?
A: Yes. Gluten-free flours or almond flour blends can be used, but texture will change. For a low carb version, use almond flour and adjust binders (eggs or protein powder) to get the right texture. See the variations above for tips.
Q: Is this recipe good for meal prep?
A: Absolutely. These biscuits freeze and reheat well, making them great for meal prep and quick side servings through the week.
Q: How can I make these higher in protein?
A: Add plain Greek yogurt or cottage cheese in place of part of the buttermilk, or mix in a scoop of unflavored protein powder to the dry ingredients. Pairing with lean protein sides also makes the meal higher in protein.
MAKE-AHEAD TIPS FOR Cheddar Garlic & Chive Buttermilk Biscuits
- Prepare to cut: Make the dough through the cutting step, then freeze individual cut biscuits on a parchment-lined tray. Once frozen, store them in a bag. Bake from frozen, adding a few minutes to the bake time.
- Par-bake and finish later: Bake until just set but not deeply browned, cool, then freeze. When ready, reheat and brush with melted butter for a fresh finish.
- Mix dry ingredients ahead: Combine dry mix (flour, baking powder, baking soda, sugar, salt, garlic, chives) and store in a sealed container. When ready, grate frozen butter and add cheese and buttermilk for quick assembly. This is a great strategy for meal prep and saving time on busy mornings or weeknight dinners.

Cheddar Garlic & Chive Buttermilk Biscuits
Ingredients
Method
- Preheat oven to 425°F (220°C). Line a 9-inch round cake pan with parchment paper.
- Grate your frozen butter using a box grater, then place it back in the freezer until needed.
- In a large bowl, whisk together the flour, baking powder, baking soda, sugar, salt, garlic powder, and chives.
- Add the frozen butter and shredded cheddar cheese to the flour mixture and toss it all together using a fork.
- Make a well in the middle and add the buttermilk; stir using the fork just until it comes together.
- Empty the dough onto a lightly floured surface and gently bring it together with your hands to form a rectangle.
- Sprinkle very lightly with flour and roll it out to about 3/4 of an inch thick, then fold the dough in thirds on top of each other. Roll again and repeat the process 3-4 more times.
- Roll the dough down to a rectangle lightly until it is about an inch thick.
- Use a 3-inch biscuit cutter to cut out the biscuits and place them in the prepared pan, ensuring they are slightly touching.
- Place the whole pan in your freezer for 10 minutes.
- Brush the tops of the biscuits with milk, buttermilk, or cream.
- Bake at 425°F for 14-16 minutes. When done, remove from oven and brush with melted butter and serve immediately.