Scroissant (Croissant Scones)
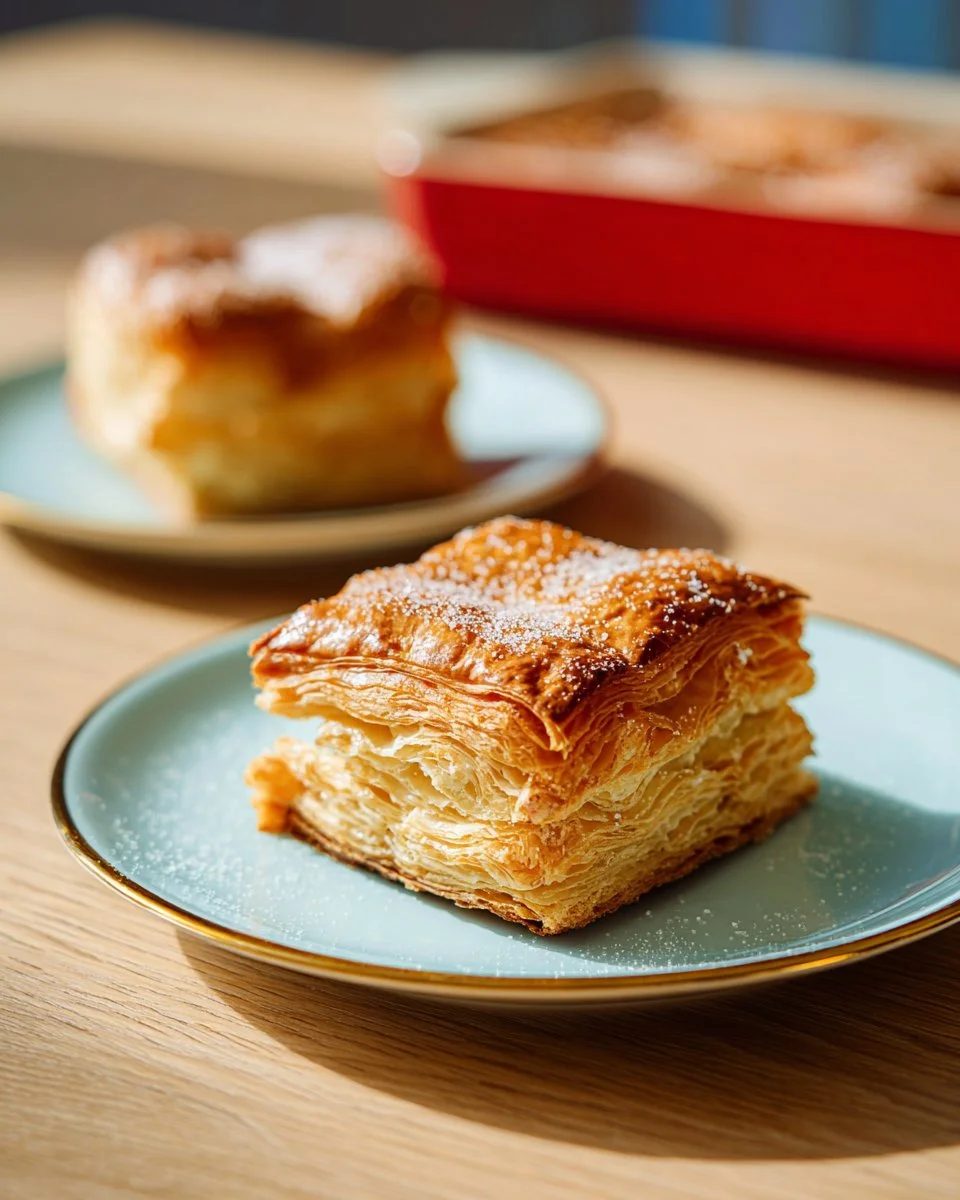
Croissant Scones, often whimsically referred to as “Scroissants,” blend the flaky, buttery goodness of traditional croissants with the comforting, tender texture of scones. They are a delightful treat that everyone can enjoy, even those looking for healthier options. This recipe takes a classic dish and presents a lighter option that can be enjoyed by those mindful of their health. With ingredients that can be easily adjusted for dietary preferences, these Scroissants are perfect for meal prep and can fit into a balanced diet, making them ideal for weight loss, gluten-free, or diabetic-friendly diets. Let’s dive into how to create these delicious and healthy treats!
WHY YOU WILL LOVE THIS Scroissant
These Scroissants offer a unique combination of flavors and textures that makes them irresistible. They’re not just a delicious pastry but also a healthier twist on the classic croissant. With the advantage of being high in protein and lower in calories than traditional pastries, they are fantastic for those on a weight loss journey or anyone looking for a great snack. They are also incredibly versatile, making them a great option for meal prep. You can enjoy them as a breakfast item, an afternoon snack, or even a light dessert. Their convenience and health benefits will have you reaching for them time and time again!
EQUIPMENT NEEDED
Mixing Bowl
A mixing bowl is essential for combining dry ingredients and mixing the dough. Using a chilled bowl can help keep ingredients cold, which is key for achieving the perfect flaky texture in your Scroissants.
Rolling Pin
A rolling pin is used to roll out the dough evenly, which is crucial for proper lamination. An evenly rolled dough ensures that the butter layers are distributed correctly, leading to delicious flaky layers.
Bench Scraper
A bench scraper aids in cutting and manipulating the dough. It’s handy for folding the dough and transferring it from the work surface.
Plastic Wrap
Plastic wrap is used for wrapping the dough during chilling sessions. Keeping the dough cold is crucial for the lamination process, so ensure you have this on hand.
INGREDIENTS
Ingredient 1: All-Purpose Flour
200 g all-purpose flour serves as the base for your Scroissants. This ingredient provides structure while allowing the dough to rise beautifully. You can substitute with whole wheat flour for a healthier, higher fiber option.
Ingredient 2: Granulated Sugar
28 g granulated sugar adds a touch of sweetness. You can also use alternatives like coconut sugar or a sugar substitute if you want to lower the calories or make it diabetic-friendly.
Ingredient 3: Baking Powder
4.5 g baking powder helps to create a light, airy texture in the dough. This leavening agent will contribute to the overall fluffy consistency of the Scroissants.
Ingredient 4: Salt
2 g salt enhances the flavors in the dough. It’s essential for balancing the sweetness and improving the overall taste of the pastry.
Ingredient 5: Unsalted Butter (Frozen)
22 g unsalted butter, finely cubed and frozen, is key to achieving that flaky texture. This butter will be mixed into the flour mixture, creating those delightful layers in every bite.
Ingredient 6: Whole Egg
28 g whole egg (about 1/2 large egg) adds richness and helps bind the dough together. For a lower-calorie option, you can use egg whites.
Ingredient 7: Milk
85 ml cold milk moistens the dough. You can use almond milk or oat milk to make this recipe dairy-free or lower in calories.
Ingredient 8: Unsalted Butter (Cold)
75 g unsalted butter is used for lamination, which is folded into the dough to create layers. Keeping it cold is essential for a successful kneading process.
Ingredient 9: Egg Wash
An egg wash made from the remaining egg gives the Scroissants a beautiful golden-brown finish. This step can be skipped if you’re looking for a lower-calorie treat or using egg alternatives.
Ingredient 10: Flaky Salt (Optional)
Sprinkling flaky salt is optional but highly recommended. It highlights the sweetness and adds a delightful crunch to the top of your Scroissants.

HOW TO MAKE Scroissant
Step 1: Keeping Everything Cold
For the best lamination, start by chilling your mixing bowl for 10–15 minutes. If your kitchen is warm, refrigerate the dry ingredients while preparing the butter. This step is crucial for ensuring your Scroissants come out flaky and tender.
Step 2: Combine Dry Ingredients
In your chilled bowl, whisk together 200 g of all-purpose flour, 28 g granulated sugar, 4.5 g baking powder, and 2 g salt. Mixing these ingredients well ensures they are distributed evenly throughout the dough.
Step 3: Incorporate Frozen Butter
Add 22 g of finely cubed and frozen unsalted butter into the dry mixture. Using a bench scraper or your fingertips, cut and rub the butter into the flour until the mixture resembles sandy crumbs with a few pea-sized pieces remaining. This process helps create those delightful layers in the finished pastry.
Step 4: Add Wet Ingredients
Pour in 28 g of beaten whole egg and 85 ml of cold milk. Using your bench scraper, gently fold and press the mixture together until no dry flour remains. Be careful not to knead the dough; it should look shaggy but hold together well.
Step 5: Chill the Dough
Transfer the dough onto plastic wrap and gently press it together into a rough square. Wrap it up and refrigerate for 30 minutes. Chilling helps solidify the butter and keeps it from melting into the dough, which is crucial for that flakiness.
Step 6: Prepare the Butter Block
Place 75 g of cold unsalted butter between two sheets of parchment paper. Pound or roll it out into a 12 × 12 cm square. Ensure it remains cold but pliable. If it gets too soft, refrigerate briefly.
Step 7: Roll Out the Dough
Lightly flour your surface and roll the chilled dough into an 18 × 18 cm square. This size will allow you to enclose the butter block properly.
Step 8: Encase the Butter
Position the butter block in the center of the rolled dough at a diamond angle, with the corners pointing towards the sides of the dough. Fold the corners of the dough over the butter, meeting in the center to seal it in. Patch any gaps with leftover dough.
Step 9: Begin Lamination
Dust the dough’s surface with flour as needed. Using your rolling pin, press the dough from the middle up and then down. This pre-roll technique helps in the lamination process. Now, roll the dough into a 14 × 30 cm rectangle.
Step 10: Cut and Stack
Cut the rectangle crosswise into three equal pieces. Lightly brush the edges of each piece with water and stack them on top of one another. If the dough feels soft, wrap it up and chill for 30 minutes. Proper cooling is vital for maintaining the butter’s integrity.
Step 11: Repeat Rolling and Stacking
Roll the stacked dough back into a 30 × 14 cm rectangle. Repeat the process of cutting into three pieces, brushing with water, and stacking for a total of three rounds. Keep the dough cold between rounds by wrapping and refrigerating for 20-30 minutes each time. This procedure builds layers that create that signature flaky texture.
Step 12: Final Roll and Chill
After the third round, roll the dough into about 19 × 13 cm. Wrap it up in plastic wrap and refrigerate for 1 hour. This chilling period lets the gluten relax, making the dough easier to work with.
Step 13: Trim and Cut
Once chilled, remove the dough from the fridge and trim the edges. Cut the dough into triangles or desired shapes for your Scroissants. Be sure to cut cleanly to maintain the layers formed during the lamination process.
TIPS AND TRICKS
- Switch to whole wheat flour for a healthier, higher fiber version of these Scroissants.
- Consider using low-fat milk or plant-based milk for fewer calories, ideal for those who are dairy-free.
- You can add spices or herbs into the dough for unique flavors, making these Scroissants even more versatile and enjoyable.
- Store the uncooked dough wrapped in plastic wrap in the freezer for up to a month, making them a perfect option for meal prep. Just thaw before rolling and cutting!
Scroissant FAQ
Are Scroissants healthy?
Yes, Scroissants can be a healthy option when made with whole grain flour and minimal sugar. They can be tailored for many dietary needs, making them suitable for a weight-loss plan or a homemade snack.
Can I make these Scroissants gluten-free?
Absolutely! Simply replace the all-purpose flour with a gluten-free flour blend. Ensure the other ingredients, like baking powder and butter, are gluten-free as well.
How should I store leftover Scroissants?
Leftover Scroissants should be stored in an airtight container in the refrigerator for up to three days. You can also freeze them for up to a month. Just reheat in an air fryer or a hot oven for a quick refresh!
Can I meal prep these Scroissants?
Yes! You can make the dough ahead of time and freeze it, or cook them in advance and store them in the fridge or freezer. They are a great grab-and-go item for breakfast or snacks, especially when prepped for a busy week.
CONCLUSION
In conclusion, Scroissants are a delightful and healthier pastry option that can satisfy your cravings without derailing your health goals. With simple adjustments, this recipe can cater to various dietary needs while still delivering on flavor and texture. These pastries are not just an indulgence; they are a versatile treat ideal for meal prep and a perfect companion for any meal. We encourage you to try this recipe, share your experience, and let us know how you made it your own! Enjoy baking and savoring your homemade Scroissants!
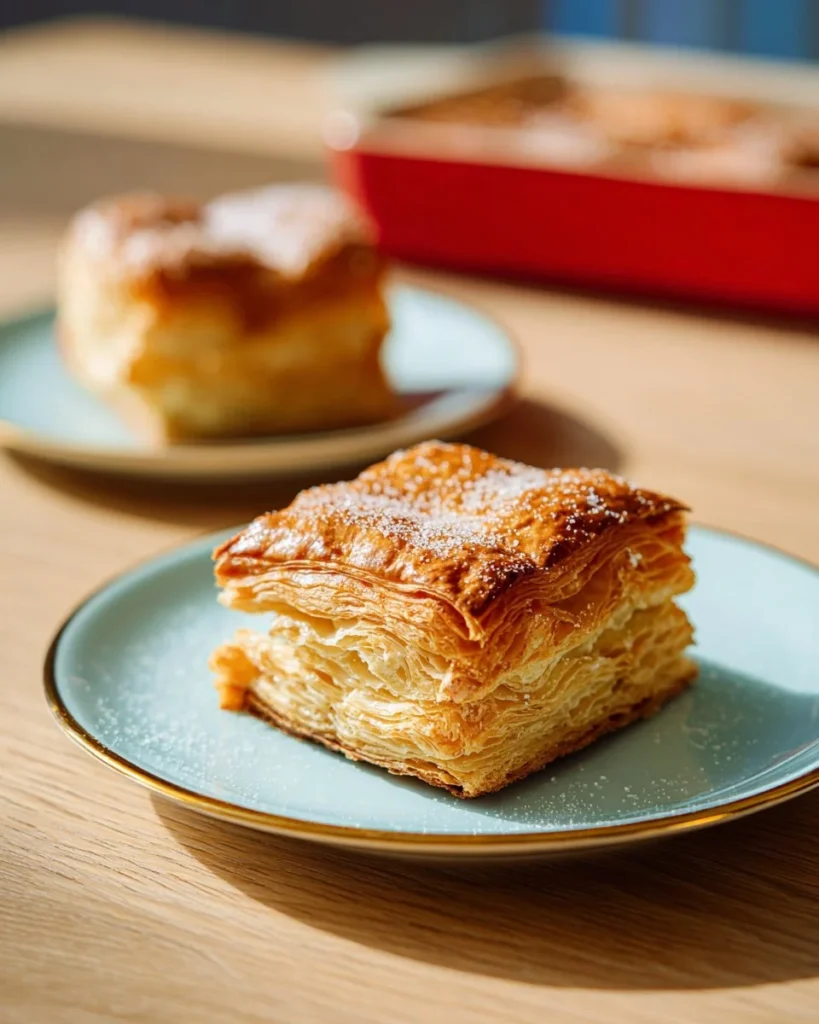
Scroissants
Ingredients
Method
- Chill your mixing bowl for 10–15 minutes to keep ingredients cold.
- In the chilled bowl, whisk together flour, sugar, baking powder, and salt.
- Add the frozen unsalted butter and cut into the flour until it resembles sandy crumbs.
- Pour in the beaten egg and cold milk, and fold together until no dry flour remains.
- Transfer the dough onto plastic wrap and refrigerate for 30 minutes.
- Prepare the butter block by pounding or rolling cold unsalted butter into a 12 × 12 cm square.
- Roll chilled dough into an 18 × 18 cm square and place the butter block in the center.
- Fold the corners of the dough over the butter and seal it in.
- Dust with flour and roll into a 14 × 30 cm rectangle.
- Cut the rectangle into three pieces, stack them, and chill if necessary.
- Repeat rolling and stacking for a total of three rounds.
- After the third round, roll into a 19 × 13 cm square, wrap in plastic, and refrigerate for 1 hour.
- Trim the edges and cut the dough into triangles or desired shapes.