Oreo Milkshake
Oreo Milkshake Recipe
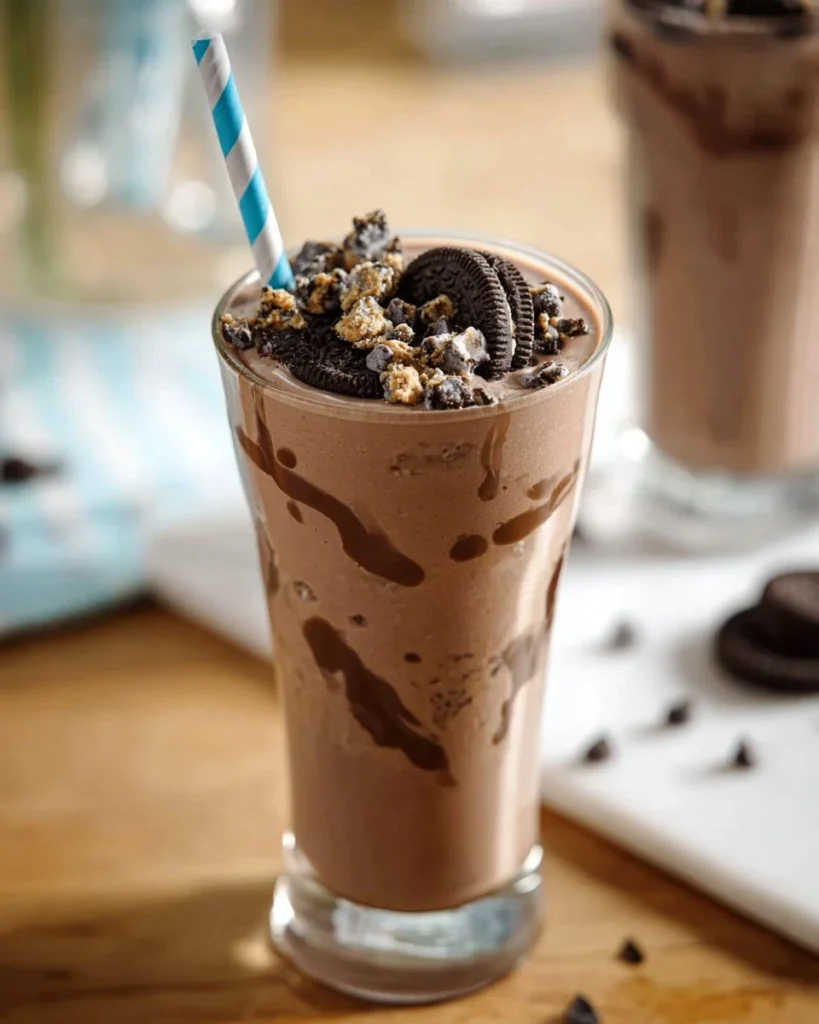
Oreo milkshake is a beloved treat that combines the classic flavors of Oreo cookies with creamy vanilla ice cream and milk. This rich and decadent drink is the perfect way to indulge your sweet tooth without feeling guilty. The good news is, with a few adjustments, you can enjoy a lighter version of this classic dessert. This healthier Oreo milkshake is great for those aiming to maintain a balanced diet, control their calorie intake, or even enjoy a sweet treat while on a weight-loss journey.
WHY YOU WILL LOVE THIS RECIPE
One of the main reasons you’ll love this Oreo milkshake recipe is its quick and easy preparation. In just a few minutes, you can whip up a delicious treat that satisfies your cravings. Plus, this recipe can be adapted to be a healthier option. It’s perfect for meal prep as you can customize each serving without a lot of hassle. Not only do you get to enjoy a tasty drink, but you also reap the benefits of choosing a healthier version that you can enjoy without the guilt.
HOW TO MAKE Oreo Milkshake
EQUIPMENT NEEDED
- Blender
- Measuring cups
- Glasses for serving
Ingredients You’ll Need
- 2 cups vanilla ice cream
- 1/2 cup milk
- 10 Oreos
- 1/3 cup semi-sweet chocolate chips
STEP-BY-STEP INSTRUCTIONS
- In a blender, add the ice cream, milk, Oreos, and chocolate chips.
- Blend until smooth and creamy.
- Pour the milkshake into two glasses and serve immediately.
- Garnish your milkshake with crumbled Oreos and additional chocolate chips.
- Optionally, squirt some whipped cream on top, sprinkle with cocoa powder, and then add cookie crumbles and chocolate chips for extra richness.

HOW TO SERVE Oreo Milkshake
When serving your Oreo milkshake, consider using tall glasses for an appealing presentation. For portion control, stick to a 1-cup serving size. This not only helps keep your calorie intake in check but makes it easier to pair your milkshake with healthy menu options. Consider serving it alongside fresh fruit, such as strawberries or bananas, for added fiber and nutrients. Additionally, you can add a handful of nuts for a crunchy texture that complements the creaminess of the milkshake.
STORAGE & FREEZING: Oreo Milkshake
While you can store any leftover milkshake in the fridge for a short time, it is best enjoyed fresh. If you need to freeze it, pour the shake into an airtight container. When you’re ready to enjoy it again, simply let it thaw in the fridge for a few hours. However, the texture may change slightly, and it might not be as smooth as when it was freshly made.
SERVING SUGGESTIONS
To make your Oreo milkshake a well-rounded snack or dessert, pair it with a healthy side option. A small bowl of fresh fruit like berries or apple slices can balance the sweetness of the milkshake and provide some vitamins and fiber. Alternatively, try it with a low-calorie granola bar for a crunchy contrast.
VARIATIONS
Healthier Version
To make a healthier Oreo milkshake, substitute regular vanilla ice cream with a low-calorie or dairy-free ice cream. Additionally, you can opt for unsweetened almond milk instead of regular milk to cut down on calories and enrich it with healthy fats.
High-Protein or Low-Carb Version
For those looking to boost protein intake, consider adding a scoop of protein powder to your milkshake before blending. This will convert your sweet treat into a high-protein meal that can support muscle recovery after a workout. If you’re keeping a low-carb lifestyle, replace Oreos with sugar-free cookies or make your cookie crumbles using almond flour-based cookies.
Air Fryer or Oven-Baked Version
While the milkshake itself cannot be baked or air-fried, you can make baked Oreos as a fun addition to your milkshake. Simply place the Oreo cookies on a baking sheet and bake at 350°F (180°C) for about 8-10 minutes until they are warm and slightly crispy. Use them as a topping for your milkshake or as a tasty side treat.
FAQs
1. Is an Oreo Milkshake a healthy option?
While a classic Oreo milkshake can be high in calories and sugar, customizing it can make it a healthier choice. By using low-calorie ice cream or incorporating protein powder, you can enjoy a guilt-free version that fits your lifestyle.
2. How can I store leftover Oreo milkshake?
It is best to drink your milkshake fresh. If you have leftovers, store them in an airtight container in the fridge for a short time. For longer storage, consider freezing it, but be prepared for a change in texture upon thawing.
3. Can I make this recipe gluten-free?
Yes! You can easily make a gluten-free Oreo milkshake by choosing gluten-free cookies. There are several brands that offer delicious gluten-free versions of Oreos, ensuring that everyone can enjoy this treat.
4. Can I use a dairy-free milk alternative?
Absolutely! Using almond milk, oat milk, or soy milk can easily turn this recipe into a dairy-free delight, making it suitable for lactose intolerant individuals or those following a vegan diet.

MAKE-AHEAD TIPS FOR Oreo Milkshake
For busy weeks or spontaneous gatherings, you can save time by prepping your ingredients in advance. Measure out the cookies and chocolate chips, and store them in a sealed bag. Pre-portion your ice cream and keep it in the freezer for quick access. Having everything ready will make it easy to whip up this delicious Oreo milkshake in mere minutes, making it a perfect option for meal prep and last-minute treats.
Enjoy your homemade Oreo milkshake while celebrating the joys of simplicity, indulgence, and the possibility of enjoying a dessert that can fit into various dietary preferences!
Oreo Milkshake
Ingredients
Method
- In a blender, add the ice cream, milk, Oreos, and chocolate chips.
- Blend until smooth and creamy.
- Pour the milkshake into two glasses and serve immediately.
- Garnish your milkshake with crumbled Oreos and additional chocolate chips.
- Optionally, squirt some whipped cream on top, sprinkle with cocoa powder, and then add cookie crumbles and chocolate chips for extra richness.