Oreo Milkshake
Oreo Milkshake Recipe
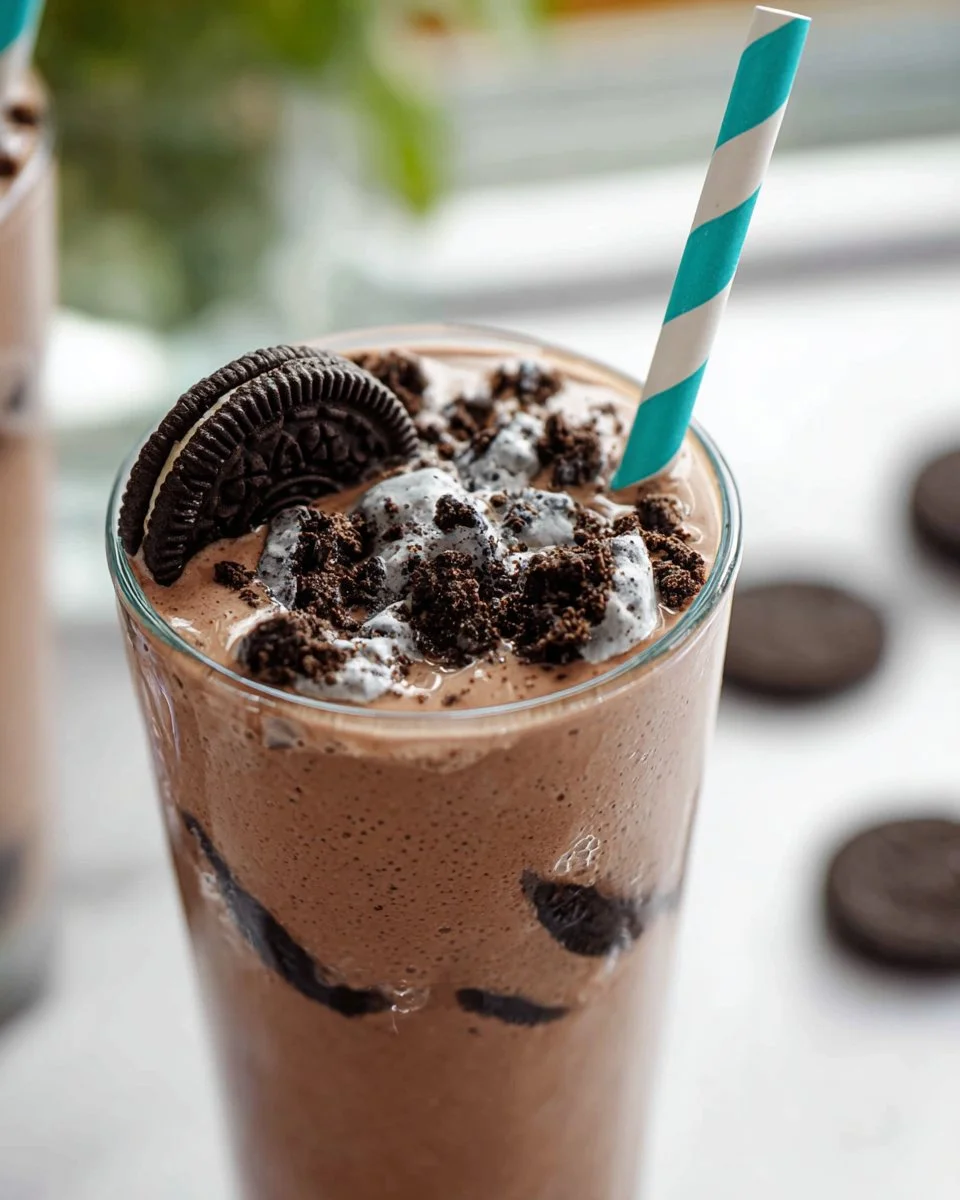
A delicious Oreo milkshake is a favorite treat for many. This sweet and creamy drink is perfect for those hot days when you want something cool and satisfying. The combination of rich vanilla ice cream, crispy Oreos, and chocolate chips creates a delightful taste that you will love. Plus, it’s incredibly easy to make, making it a go-to recipe for quick dessert cravings.
Making a lighter version of this classic treat can help you enjoy a delightful dessert without worrying too much about calories. With some simple swaps, you can create a healthier Oreo milkshake that still satisfies your sweet tooth.
Why You Will Love This Recipe
This Oreo milkshake is not only delicious, but it can also be a fun way to enjoy a treat without compromising on health. It’s a perfect quick meal prep option if you are short on time. By preparing this milkshake in advance, you can enjoy a sweet pick-me-up any time of the day. It’s a lighter option compared to traditional milkshakes, especially if you make some simple adjustments.
How to Make Oreo Milkshake
Making an Oreo milkshake is as easy as pouring a few ingredients into your blender! It’s a great recipe for families or when you have friends over. The process is simple and takes only a few minutes, so you can quickly whip it up whenever you want a delightful treat.
Equipment Needed
- Blender
- Measuring cups
- Tall glasses for serving
- Spoon for garnishing
Ingredients You’ll Need
- 2 cups vanilla ice cream
- 1/2 cup milk
- 10 Oreos
- 1/3 cup semi-sweet chocolate chips
Step-by-Step Instructions
- In a blender, add the vanilla ice cream, milk, Oreos, and chocolate chips.
- Blend until everything is smooth and well combined.
- Pour the milkshake into two tall glasses and serve immediately.
- For extra fun, garnish the milkshake with crumbled Oreos and additional chocolate chips. You can also add whipped cream, sprinkle it with cocoa powder, and top it off with more cookie crumbles and chocolate chips.
For a vegan version, replace the vanilla ice cream with vegan ice cream, use oat milk or any other non-dairy milk, and choose vegan chocolate chips.

How to Serve Oreo Milkshake
Serving your Oreo milkshake can be a fun experience! Consider offering it with some healthy side options. A small fruit salad or a handful of nuts can balance out the sweetness of the milkshake. If you are focusing on portion control, serving the milkshake in smaller glasses makes each serving seem like a special treat. Remember, moderation is key for a balanced diet!
Storage & Freezing: Oreo Milkshake
If you happen to have leftover Oreo milkshake, make sure to store it properly. Place it in an airtight container and keep it in the freezer if you plan to save it for later. When you’re ready to enjoy it again, let it sit out for a few minutes to soften before drinking. However, this milkshake tastes best fresh because the watery consistency can change when frozen.
Serving Suggestions
To keep your meal balanced, consider serving your Oreo milkshake with a healthy side. A small bowl of mixed berries or a slice of whole grain toast with almond butter makes for a great, nutritious accompaniment. This adds some fiber and protein to your dessert, helping you to feel fuller for longer.
Variations
Here are some creative spins on the classic Oreo milkshake:
-
Healthier Version: You can use low-fat vanilla ice cream or yogurt instead of regular ice cream. Substitute almond milk for regular milk for a healthier twist, making it lower in calories.
-
High-Protein or Low-Carb Version: Try adding a scoop of your favorite protein powder to the shake. Using unsweetened almond milk instead of regular milk can create a lower-carb option too!
-
Air Fryer Version: Instead of blending for a milkshake, consider making Oreo cookie crumbles in the air fryer! Set your air fryer to 350°F, and bake crumbled Oreos for 5-7 minutes until crispy. Blend those into a classic milkshake for an added crunch!
FAQs
1. Can I make a sugar-free Oreo milkshake?
Yes! You can use sugar-free ice cream and sugar-free Oreos to create a sugar-free version of the milkshake.
2. How can I make this milkshake more filling?
Adding a scoop of protein powder or nut butter can boost the protein and make the milkshake more satisfying.
3. Can the milkshake be stored overnight?
While it’s best enjoyed fresh, you can store it in the fridge for a short time. However, be aware it may lose some creaminess.
4. Is this milkshake suitable for diabetics?
Using sugar-free Oreos and a low-carb milk option can make this a more diabetic-friendly treat. However, it’s always best to check with a healthcare provider.
Make-Ahead Tips for Oreo Milkshake
If you want to save time during a busy week, prepare your ingredients in advance. You can measure out the Oreos and chocolate chips and store them in a zip-top bag. That way, when you’re ready to make your milkshake, all you need to do is add everything to the blender. This is a great tip for meal prep, ensuring that you can whip up this delicious treat anytime without hassle!
In conclusion, the Oreo milkshake is a classic treat that you can easily adapt to fit your dietary needs. Enjoy this deliciously creamy drink, knowing you have options to make it healthier! With its various versions, it’s a fun way to switch up your dessert game while still keeping it delicious. Whether you’re enjoying it straight after blending or letting it chill for later, this recipe is sure to become a favorite!

Oreo Milkshake
Ingredients
Method
- In a blender, add the vanilla ice cream, milk, Oreos, and chocolate chips.
- Blend until everything is smooth and well combined.
- Pour the milkshake into two tall glasses and serve immediately.
- Garnish with crumbled Oreos and additional chocolate chips, and optionally, top with whipped cream.