INTRODUCTION
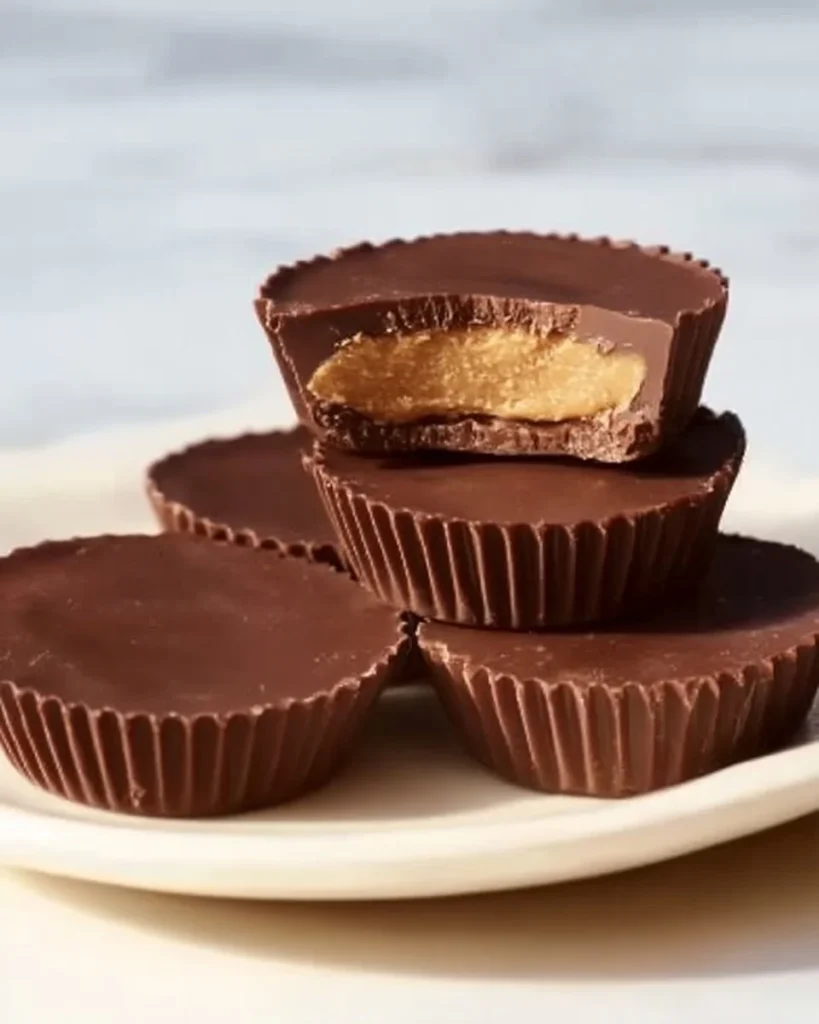
This recipe is for Better Than Reese’s Peanut Butter Cups. It is simple and sweet. You can make these cups at home with a few common ingredients. They taste rich and fresh. You will love how smooth the peanut butter filling is and how the chocolate shell snaps. If you like peanut butter treats, you might also enjoy peanut butter brownie swirl cookies for another easy snack.
These cups are small and perfect for a quick treat. They do not need any special skills. You will melt chocolate, press a peanut butter dough, and let it set. The result is a candy that is creamier than store-bought cups. This article shows you why this recipe works and how to make it step by step.
WHY YOU WILL LOVE THIS RECIPE
You will love this recipe because it is easy. The steps are short and clear. You only need one bowl for the filling and a simple way to melt chocolate. The filling has a soft, playdough-like feel that is fun to shape. The chocolate layers give a nice snap and shine.
This recipe is also flexible. You can use different nut butters if you want. You can change the chocolate mix to be milk, dark, or both. These cups freeze well, so you can make a batch and keep them for weeks. If you want a low-carb or keto option, try a related idea like peanut butter chocolate fat bombs for another quick snack option.
These cups are a crowd pleaser. Kids and adults will both reach for them. They make a good gift in a tin or in a small box. The recipe makes many cups fast, so you can double the batch for a party.
HOW TO MAKE Better Than Reese’s Peanut Butter Cups
This section shows the full plan to make the cups. Read all steps first. Then follow them slowly. Keep your work area clean and ready. If you want to add a trick, you can chill the peanut butter discs on a plate for a few minutes before coating them with chocolate. For another filled chocolate idea, you might like peanut butter stuffed brownies which use a similar filling idea.
Work in small batches if you have little space. Melted chocolate dries fast, so work while it is warm. Use a spoon or small scooper to place chocolate into cups. The goal is a smooth shell and a neat top layer.
EQUIPMENT NEEDED
- Medium mixing bowl
- Spoon or spatula
- Measuring cups and spoons
- Microwave-safe bowl or a metal bowl and pot for a double boiler
- Muffin tin or small tray
- Paper candy cups or silicone molds
- Small cookie scoop or teaspoon for shaping discs
- Refrigerator space for chilling
Ingredients You’ll Need :
1/2 cup peanut butter (or any nut butter like almond butter (125g)), 1 Tbsp. of softened butter (optional (15g)), 1 cup powdered sugar (added gradually, may need a little more or less (125g)), 1 cup milk chocolate (a combination of chocolate bars and chocolate chips, or use candy melts (175g)), 1 cup dark chocolate (a combination of chocolate bars and chocolate chips, etc (175g)), 1/2 tsp. salt (2g)
STEP-BY-STEP INSTRUCTIONS :
In a medium bowl combine the peanut butter, salt, and softened butter.
Gradually add the powdered sugar until it comes together and forms a dough with a "playdough" consistency. You should be able to form it into a disc without it sticking to your fingers.
Melt your chosen chocolate in the microwave using bursts of 25 seconds, then stir, 25 seconds then stir, until it is melted. Or use a double boiler which consists of a small pot of water, and a metal larger bowl resting on top. Place the chocolate in the metal bowl and turn the stovetop on to medium. The steam from the hot water will heat the bowl melting the chocolate.
Fill the bottom of each paper cup with some chocolate. Then form the peanut butter mixture into discs and place those on top of the first layer of chocolate.
Pour a top layer of chocolate creating the peanut butter cup. Once all are filled, place the pan in the fridge to allow the chocolate to set. It only takes 20 to 30 minutes. Now enjoy! Very easy right?

HOW TO SERVE Better Than Reese’s Peanut Butter Cups
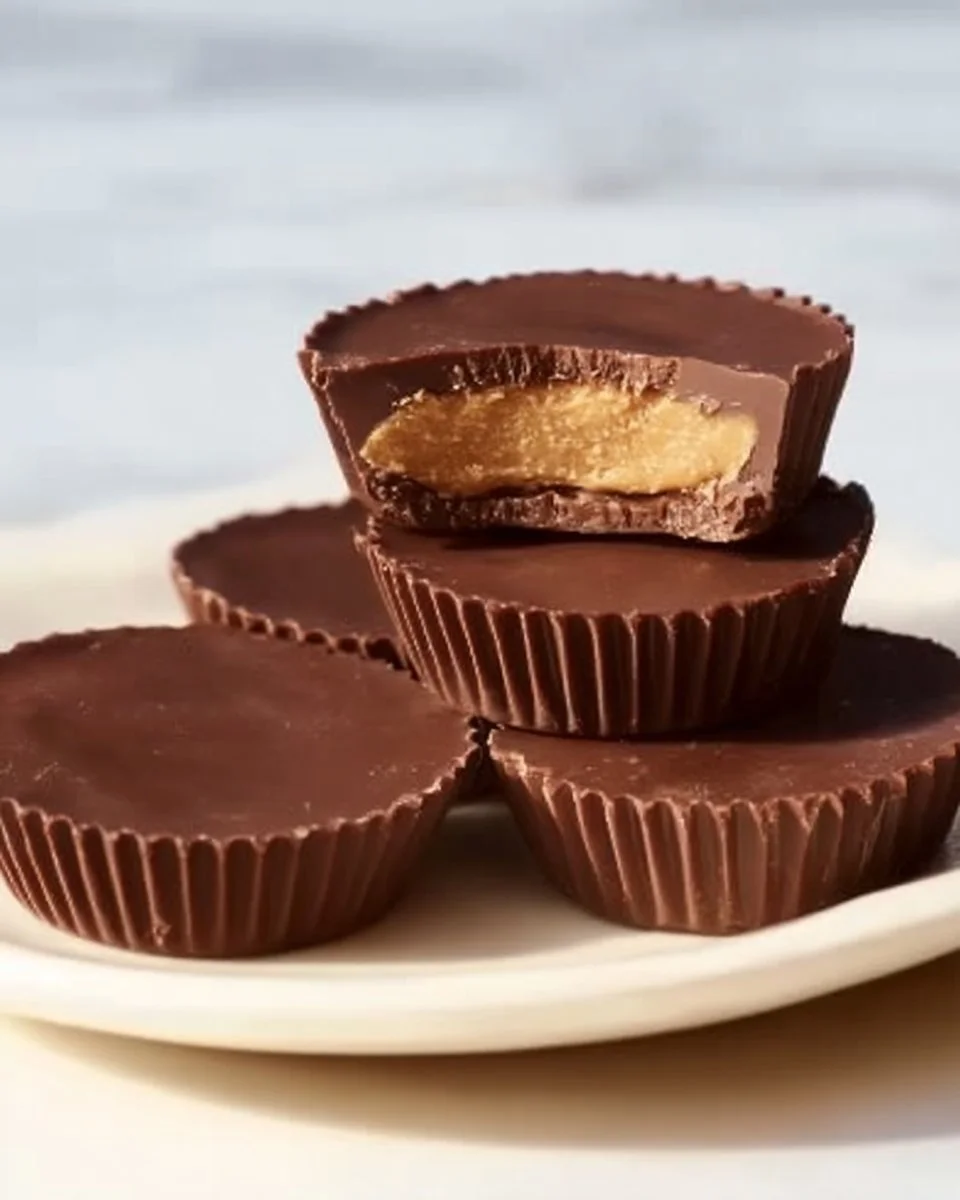
Serve these cups cold or at room temperature. Cold cups are firmer and snap when you bite them. At room temperature, the filling is softer and very creamy. Place a few cups on a small plate for one person or a larger platter for guests.
If you want a pretty look, sprinkle a few sea salt flakes on top of each cup before the chocolate sets. This gives a small salty bite that lifts the flavor. For a simple pairing, serve the cups with a glass of cold milk or a cup of coffee. For a vegan pairing, try serving with a plant milk and a plate of crisp fruit. For another peanut butter cookie idea to pair with coffee, check out these perfect vegan peanut butter cookies.
STORAGE & FREEZING : Better Than Reese’s Peanut Butter Cups
Store the cups in an airtight container. Keep them in the fridge for up to two weeks. If you want them even longer, you can freeze them. Wrap each cup or place parchment paper between layers, then put them in a sealed freezer bag or container.
Frozen cups last for up to three months. To eat, remove the cups from the freezer and let them sit for a few minutes at room temperature. They soften quickly. If you want a ready treat, take one out of the freezer and enjoy it still firm.
SERVING SUGGESTIONS
- Serve a few cups on a small dessert plate after dinner.
- Add a sprinkle of chopped peanuts on top before the chocolate sets for an extra crunch.
- Pair with fresh apple slices or banana for a balanced snack.
- Place three cups in a small clear bag tied with a ribbon for a quick gift.
- Use dark chocolate for a less sweet version and milk chocolate for a sweeter cup.
VARIATIONS
You can change this recipe to match your taste.
- Use almond butter or cashew butter instead of peanut butter. The texture will be similar, but the taste will change.
- Add a teaspoon of honey or maple syrup to the filling for a touch of extra sweetness.
- Mix a little cocoa powder into the filling for a chocolate peanut butter center.
- Roll the filling balls in crushed cookies or nuts before placing on chocolate for texture.
- Try different chocolate ratios: more dark chocolate for a richer bite or all milk chocolate for a classic sweet cup.
- For a fancy twist, drizzle white chocolate on top after the cups set.
- For a savory touch, add a pinch of smoked sea salt to the top of the cups.
You can also explore other snack ideas that use peanut butter and chocolate together. For a warm and gooey dessert idea, see baked brie crostini with pumpkin butter for a different flavor path that still uses rich textures.
FAQs
Q: Can I use crunchy peanut butter?
A: Yes. Crunchy peanut butter will add small bits of peanut inside the filling. It will change the texture but still work well.
Q: Can I make these nut free?
A: Yes. Use a seed butter like sunflower seed butter. The taste will be different but the method is the same.
Q: How do I melt chocolate without a microwave?
A: Use a double boiler. Place a metal bowl on a pot with simmering water. Stir the chocolate until it melts and is smooth.
Q: Why is my filling sticky?
A: If you add too little powdered sugar the filling will be sticky. Add a little more powdered sugar until you can form discs that do not stick.
Q: Can I skip the butter in the filling?
A: Yes. The butter helps the dough hold shape and gives a softer mouthfeel. If you skip it, the filling will be firmer. You may need a small adjustment of powdered sugar.
Q: How long do they take to set?
A: In the fridge they set in 20 to 30 minutes. At room temperature they set slower and may take an hour.
MAKE-AHEAD TIPS FOR Better Than Reese’s Peanut Butter Cups
Make the peanut butter filling ahead of time and store it in the fridge for up to 3 days. When you are ready to finish the cups, form the discs and coat with chocolate. You can also make full cups and freeze them for up to three months. Keep them in a sealed container and pull out a few when you need a quick treat.
If you plan to gift these, make them a day or two ahead and keep them chilled until you give them. They will stay fresh and look neat. When you travel with them, keep them cold with an ice pack to prevent melting.